Peel & Stick Wallpaper & Tiles - Easy Step By Step Instructions
I have recently been called the “Wallpaper Queen” and while I wouldn’t quite go that far, I do LOVE wallpaper! Sadly, I fell out of love with wallpaper for a few years because the thought of removing it one day was more than I could bear. I mean who didn’t wallpaper their way through the nineties and then spend hours removing it? THE WORST!!!
All of that changed for me when I was first introduced to PEEL AND STICK WALLPAPER by RoomMates Decor, it was a game changer and upped my home decor game big time! The first time we used it was in a Reno Challenge we participated in back in the fall of 2018 and that was where we worked out most of the kinks and learning curves.
I’m going to keep it real and honest for you folks so follow along!
The only tools you will need are:
Level
Utility Knife
Pencil
Scissors
Plastic Flat Edge Wallpaper Smoother
Yep, that’s it, that’s all, oh and a step ladder and some tunes because it’s always better to wallpaper with music!
One of the first things we did was watch video tutorials on the RoomMates Decor website and You Tube because trust me, if you haven’t used peel and stick wallpaper before, you shouldn’t jump right in and assume it’s going to be a piece of cake. It becomes a piece of cake after you learn the ins and outs!
There aren’t many of us who have perfectly square walls in our homes, we are even finding that in our two year old home. So to make sure you start off on the right foot, follow the instructions and draw a horiztonal line from floor to ceiling for your first strip and follow that line no matter what!
You can use scissors to easily cut this wallpaper. Always cut your strips a little longer than what you need, trimming after it’s installed is easy peasy with your utility knife.
Oh and here’s a hot tip we’ve learned the hard way, don’t assume each roll/pattern is the same because it rarely is. It’s always out a bit. One of the best pieces of advice is ONLY CUT ONE STRIP OF WALLPAPER AT A TIME! Once it’s up, use the roll you are working from to match. Use your pencil to make your mark and proceed to cut your next strip, with scissors, remembering to account for a little extra at the top and the bottom.
Don’t get all cocky and peel ALL the backing off an entire strip at once, trust me, you’ll regret it! We like to work in 6-8 inches sections to start and then always use both hands to slowly remove the backing in sections as you work your way to the floor.
We recommend using your hands to push the wallpaper against the wall and work out bubbles and kinks. Once you have an entire piece stuck, then we use our plastic flat edge smoother, working our way from top to bottom. If you happpen to have an electrical box, we do trim this out before we use the flat edge around it, all the other trimming at the floor and ceiling we leave until all the paper is hung.
I get asked all the time if this wallpaper is EASY. In the beginning it was far from easy but once we learned the ins and outs it became easier. But before it became easy, here are things we learned the hardway
don’t let the wallpaper stick to itself, just trust me on this. it’s game over.
draw your horizontal line before hanging your first strip otherwise your entire wall of paper will be crooked
don’t assume each roll is the same for matching purposes, even if they are from the same lot.
if a piece is looking like you can’t get the bubbles out or it is starting to run crooked, just PEEL IT BACK OFF and start over. As long as it hasn’t stuck to itself you can peel it off and re-use the same piece to start over.
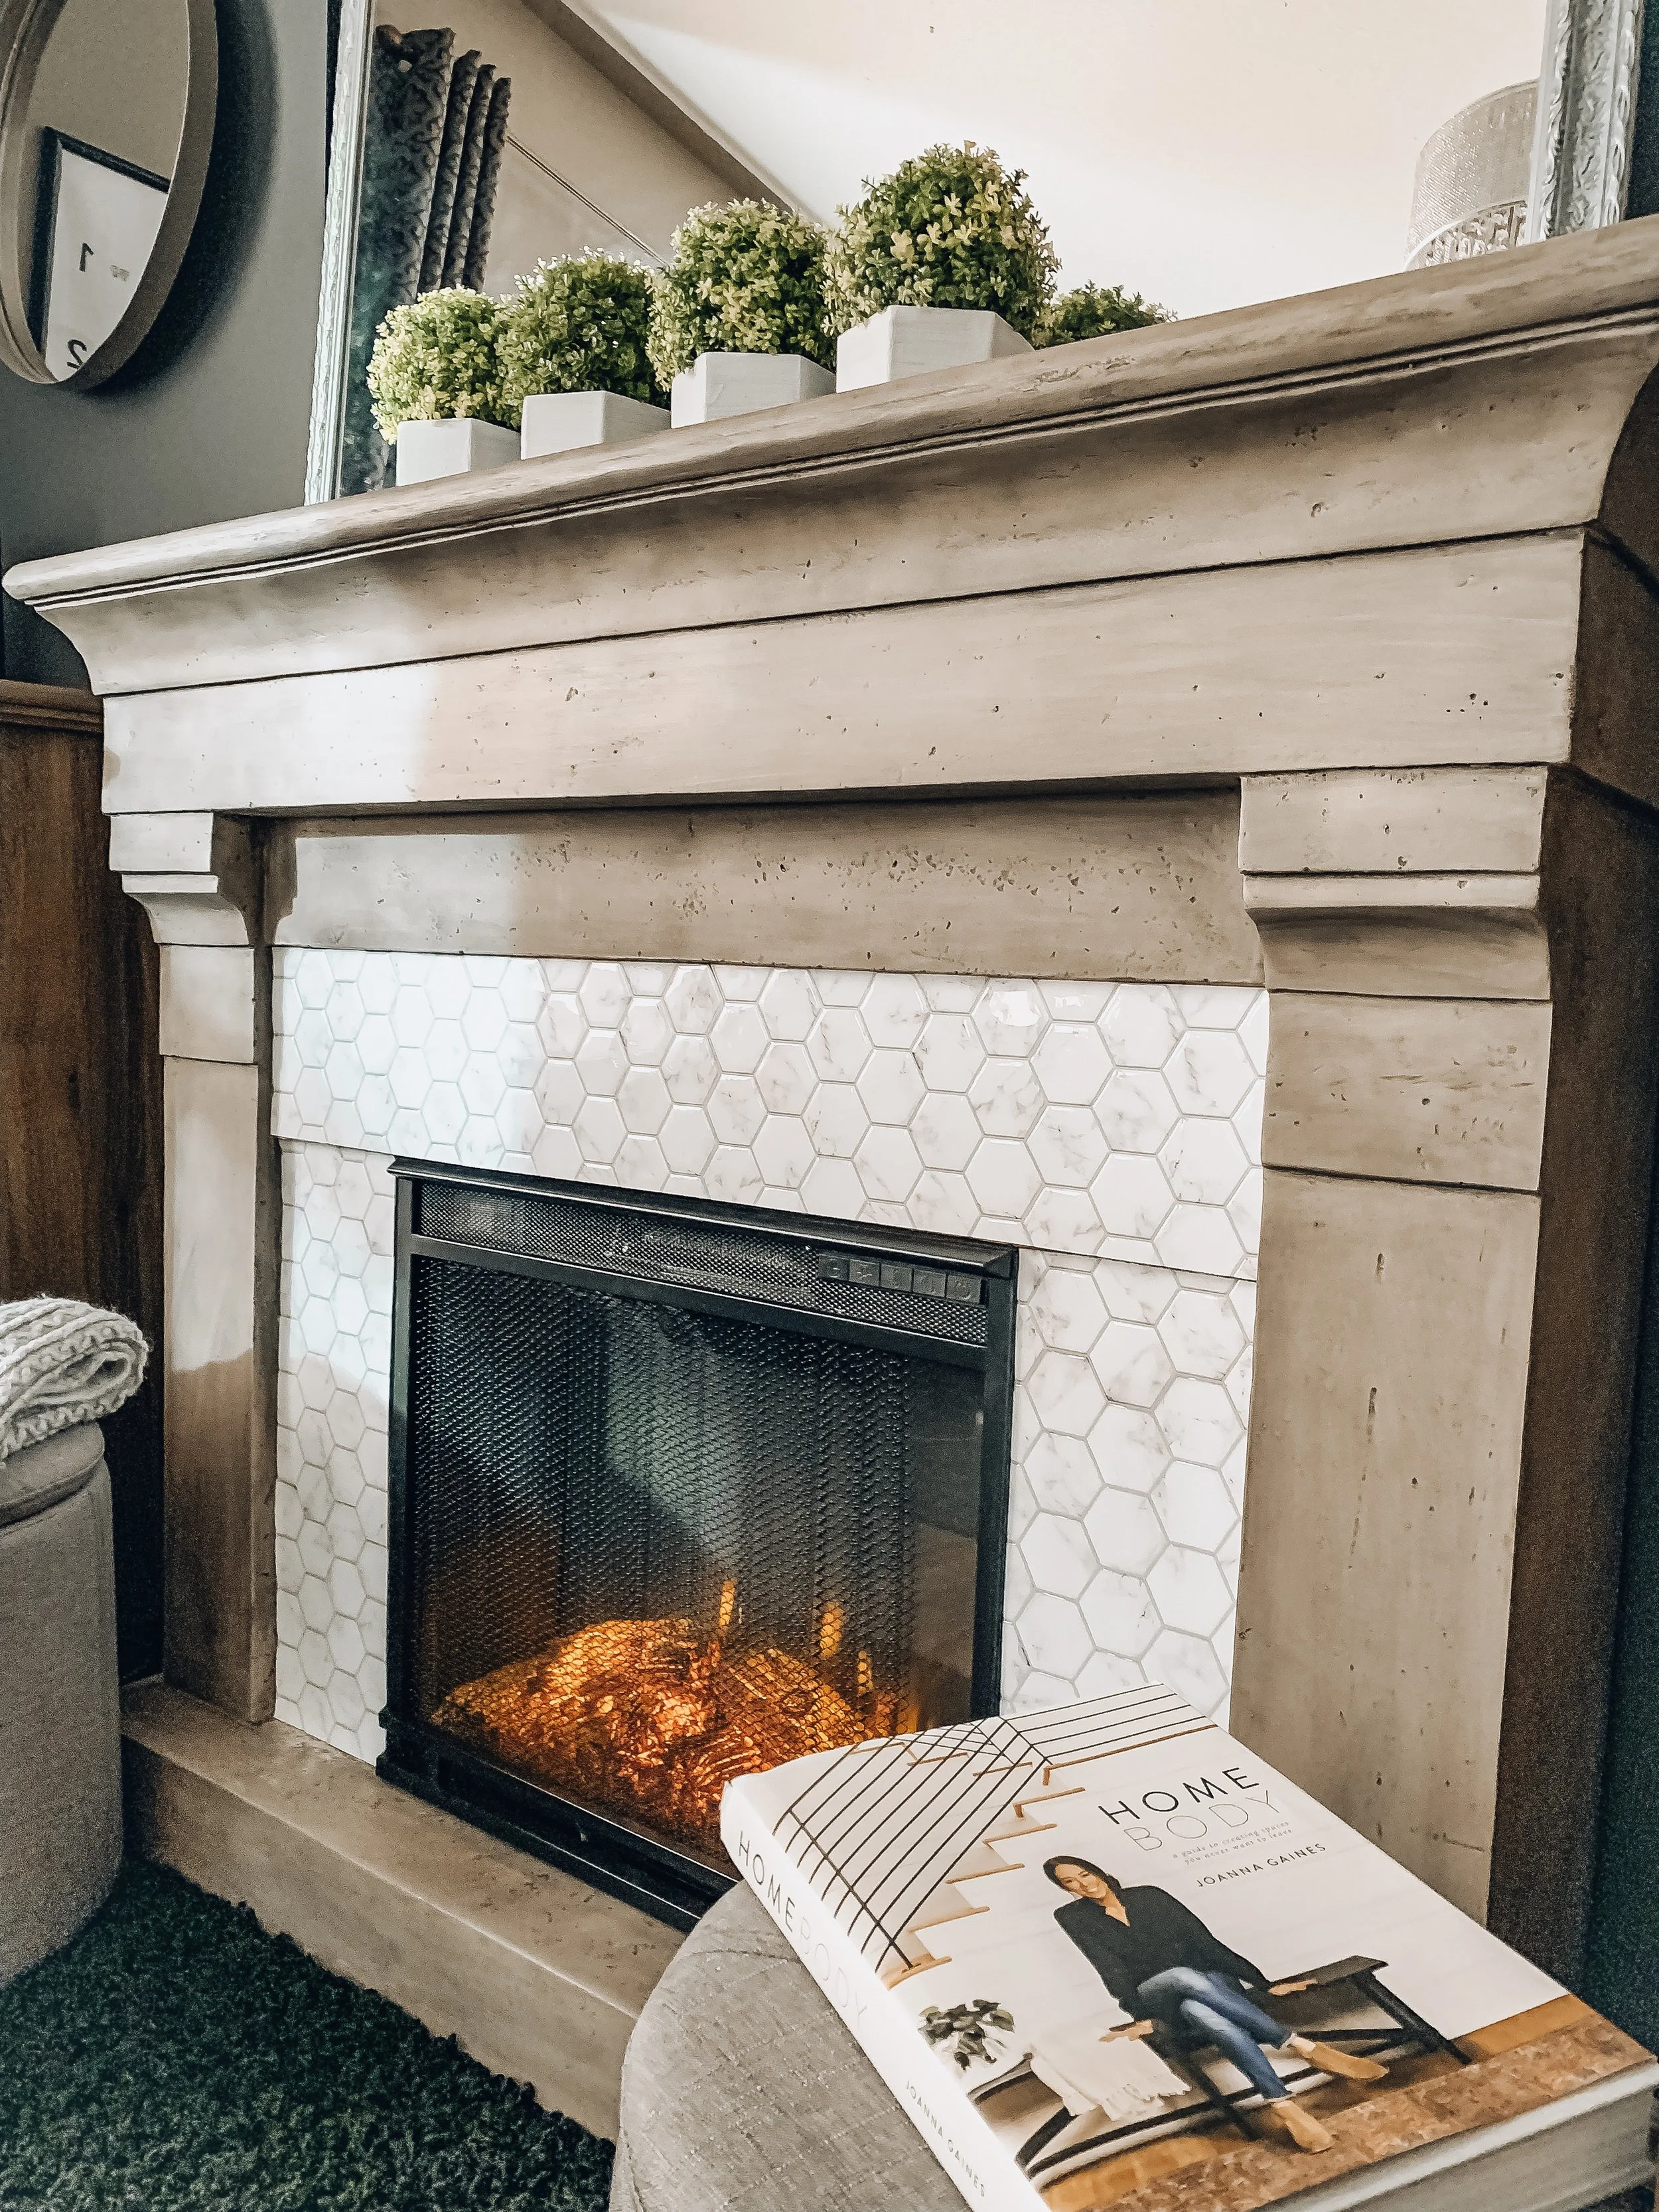
We have wallpapered half walls, we have wallpapered vertically, we have wallpapered odd shaped cubbies, we have used peel and stick tiles on an electric fireplace and of course, we have done many accent walls.
One of the best things about this wallpaper is it so easy to match and piece together when necessary. I recently wallpapered one small wall in our laundry room which as you can see below, was a bit awkward with the cupboards and washer and dryer (which we have no idea how to move and hope they last forever) and I literally did it in small sections and you cannot even tell, even if you look up close. Of course I made sure to match it before I cut each piece, but know from experience, that you can use this wallpaper in small sections when necessary. This isn’t the only project where we had to do some piecing together and trust me, you can’t tell!
This wallpaper is durable and scrubbable and removes easily so if you like to change your decor often or maybe you are listing your home, you can easily remove this wallpaper without it damaging your walls just by peeling it back off. How amazing is that?
We had this odd cubby in our entryway way at our last house and added the Bohemian Wallpaper
I’m going to share more of our projects below and stayed tuned, next week we have one more room on the docket that is going to get a little pop of colour in the way of wallpaper. Maybe i’ll attempt some video tutorials along the way.
Leftover wallpaper can be used on furniture, in a picture frame, endless possibilities!


This bathroom featured above, we did one accent wall in “Distressed Wood” peel and stick by RoomMates Decor and we hung it HORIZONTALLY to resemble the look of shiplap!
And finally our two most recent projects are the master bedroom and guest bedroom in our new home. Both of these patterns are totally opposite from the other but are both equally as stunning.
Watercolour Floral in Black by RoomMates Decor & Stick Tiles on Fireplace are also from RoomMates and you can read all about it on their blog by clicking HERE
I hope I have convinced you to give peel and stick wallpaper a try! Trust me when I say, if we can do it, you can do it because we honestly only tackle DIY’s that any of you can do too! We are just like you in the sense that we learn as we go. Google and You Tube are our best friends when we are tackling projects we haven’t done before or aren’t sure about.
I absolutely LOVE the RoomMates Decor products, they are always introducing new patterns and products and there is something for every room in your home, including prints for kids and teens and wall decals too! Their product is affordable, durable and in case this post and my pictures don’t speak for themselves, I highly recommend. You guys know that I ONLY recommend products that I love and these ones are at the top of my list!
If you still have questions, leave me a comment, send me an email or DM me on social media. As always, I will answer honestly and to the best of my knowledge because I love to keep it real with you guys!
Happy peeling and sticking!
Michele xo