WELCOME TO OUR NEW ENTRYWAY! RENO CHALLENGE COMPLETE!
CHALLENGE (noun):
A CALL TO SOMEONE TO PARTICIPATE IN A COMPETITIVE SITUATION OR TASK, OR A SITUATION THAT TESTS SOMEONE’S ABILITIES
Yep, that pretty much sums up this Renovation Challenge for us! It definitely tested our abilities more than we ever imagined. Not only did we take on jobs that we had never done before, we honestly had no idea of the scope of the work involved. But guess what? It all worked out and despite a few tense moments, the end result is more beautiful then we EVER imagined. We are so PROUD of what we accomplished, no helpers, no contractors, just little old us, YouTube and our friends at our local Home Depot!
BEFORE
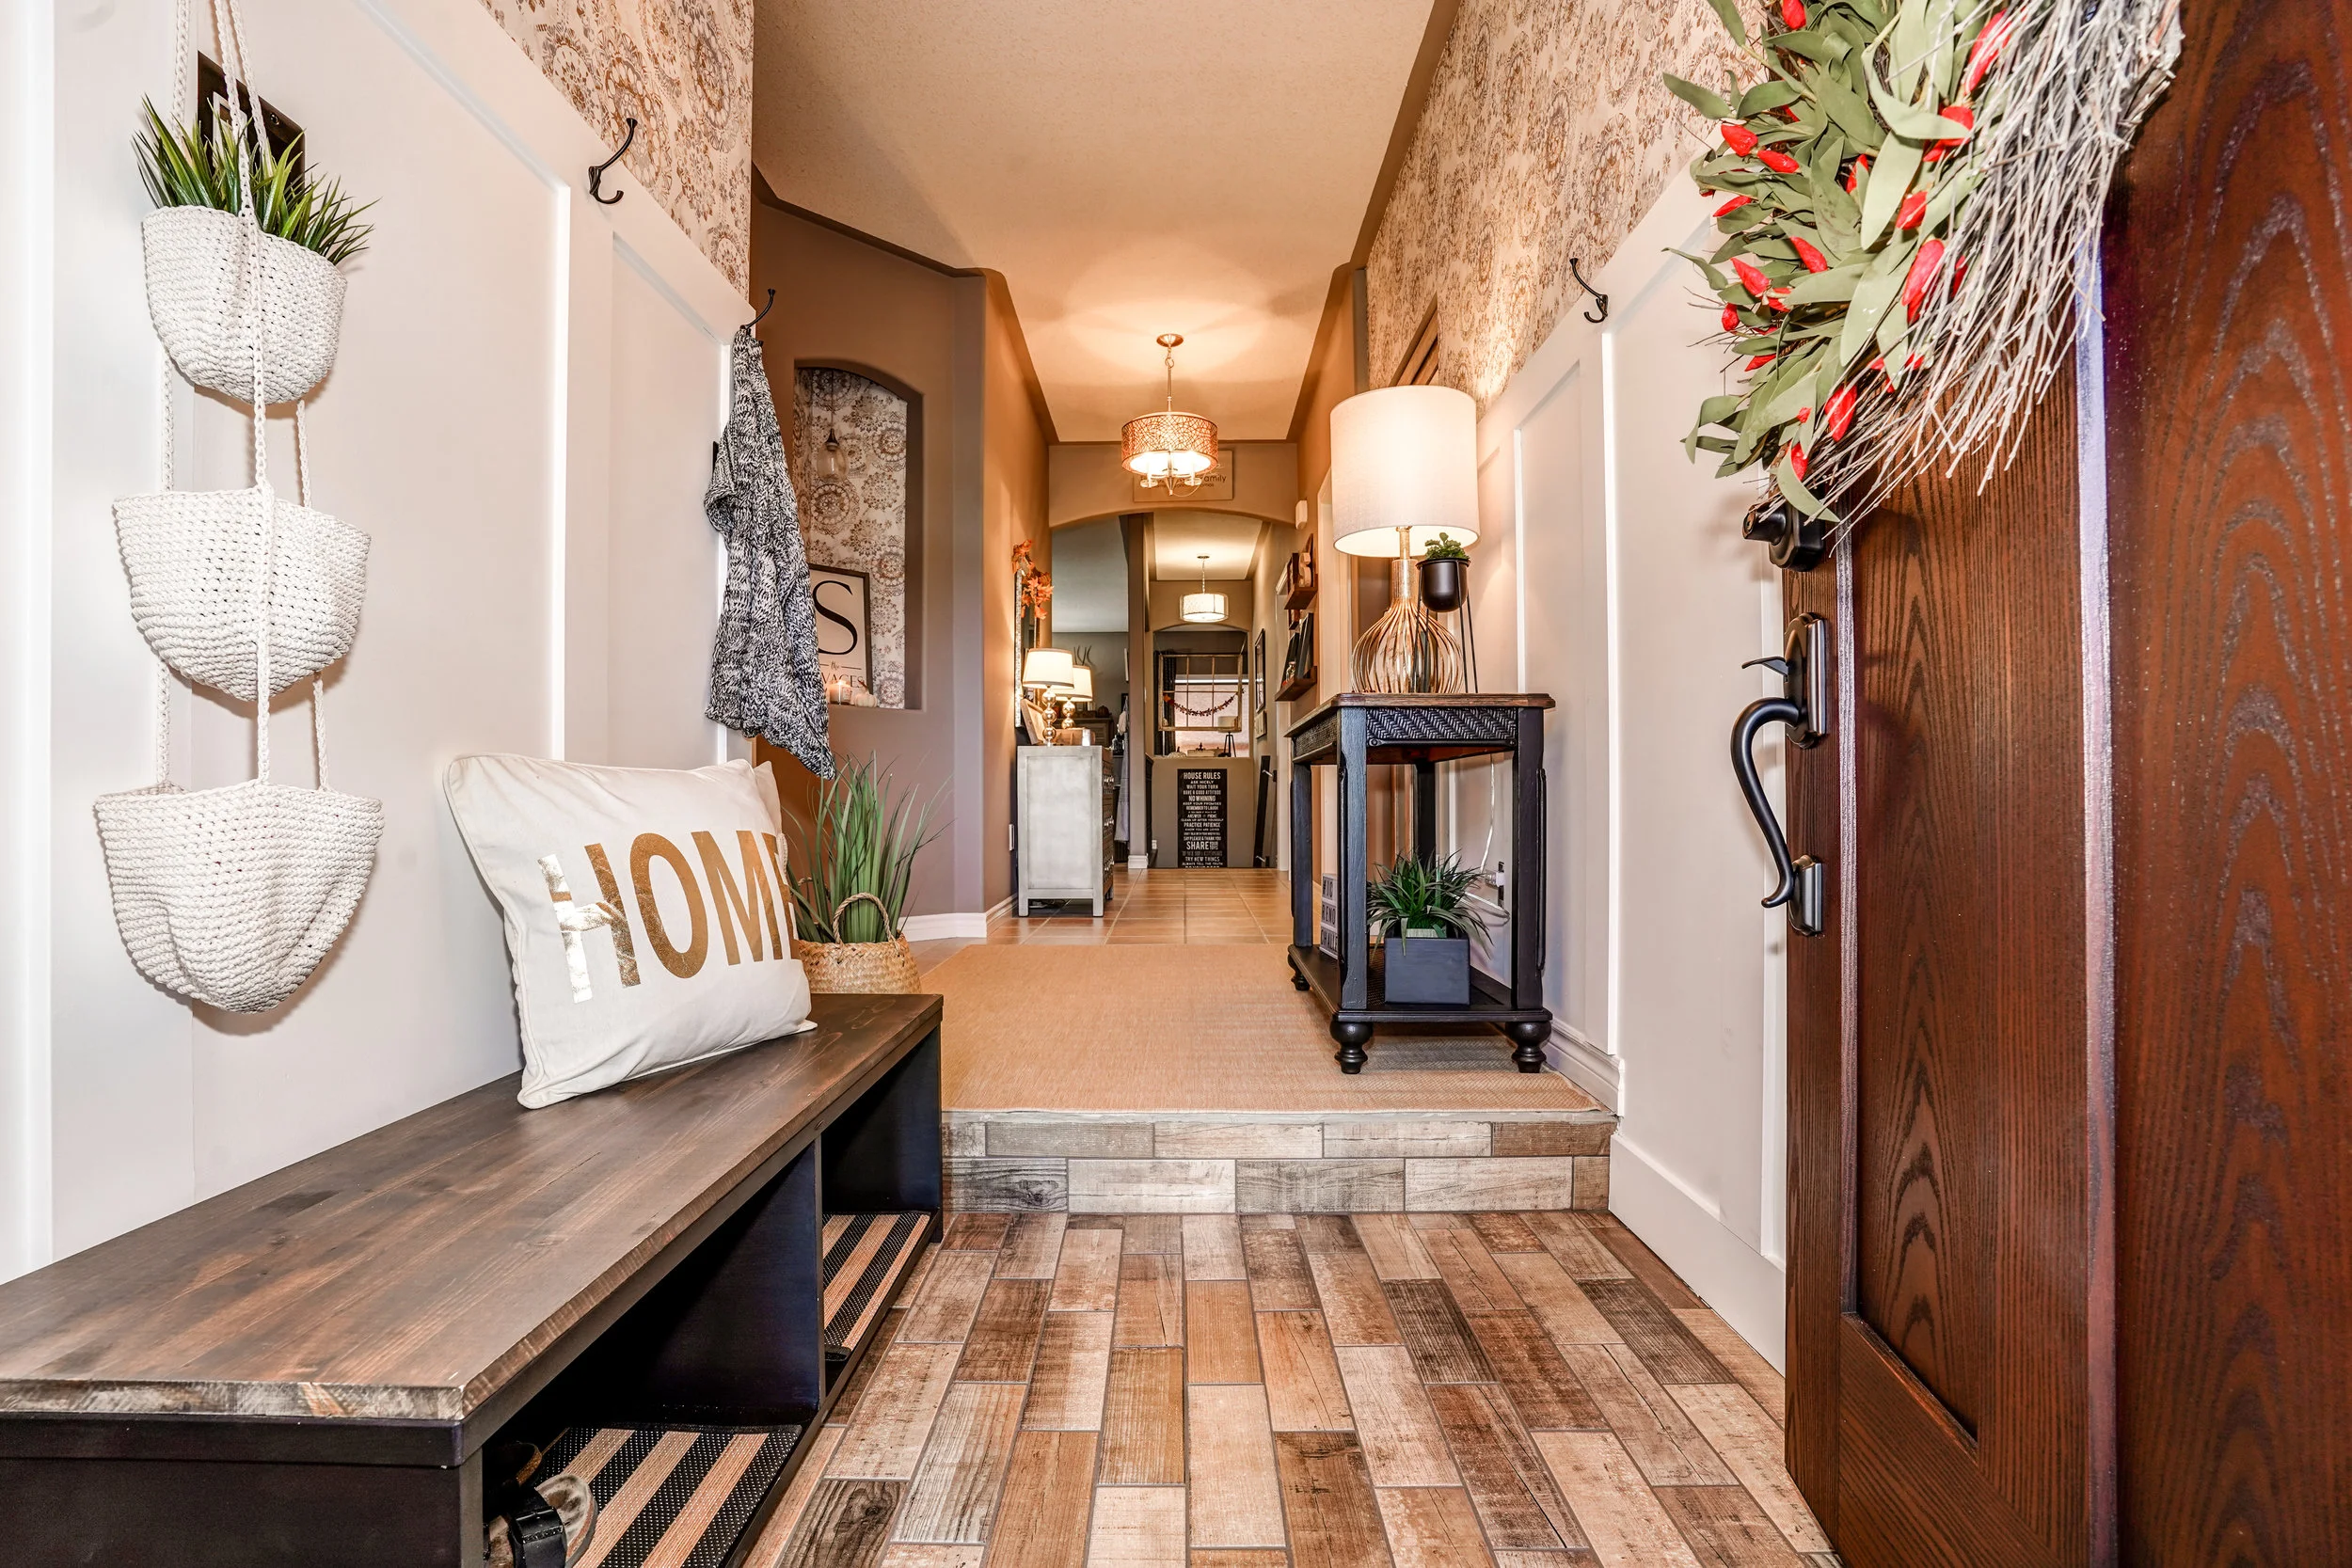
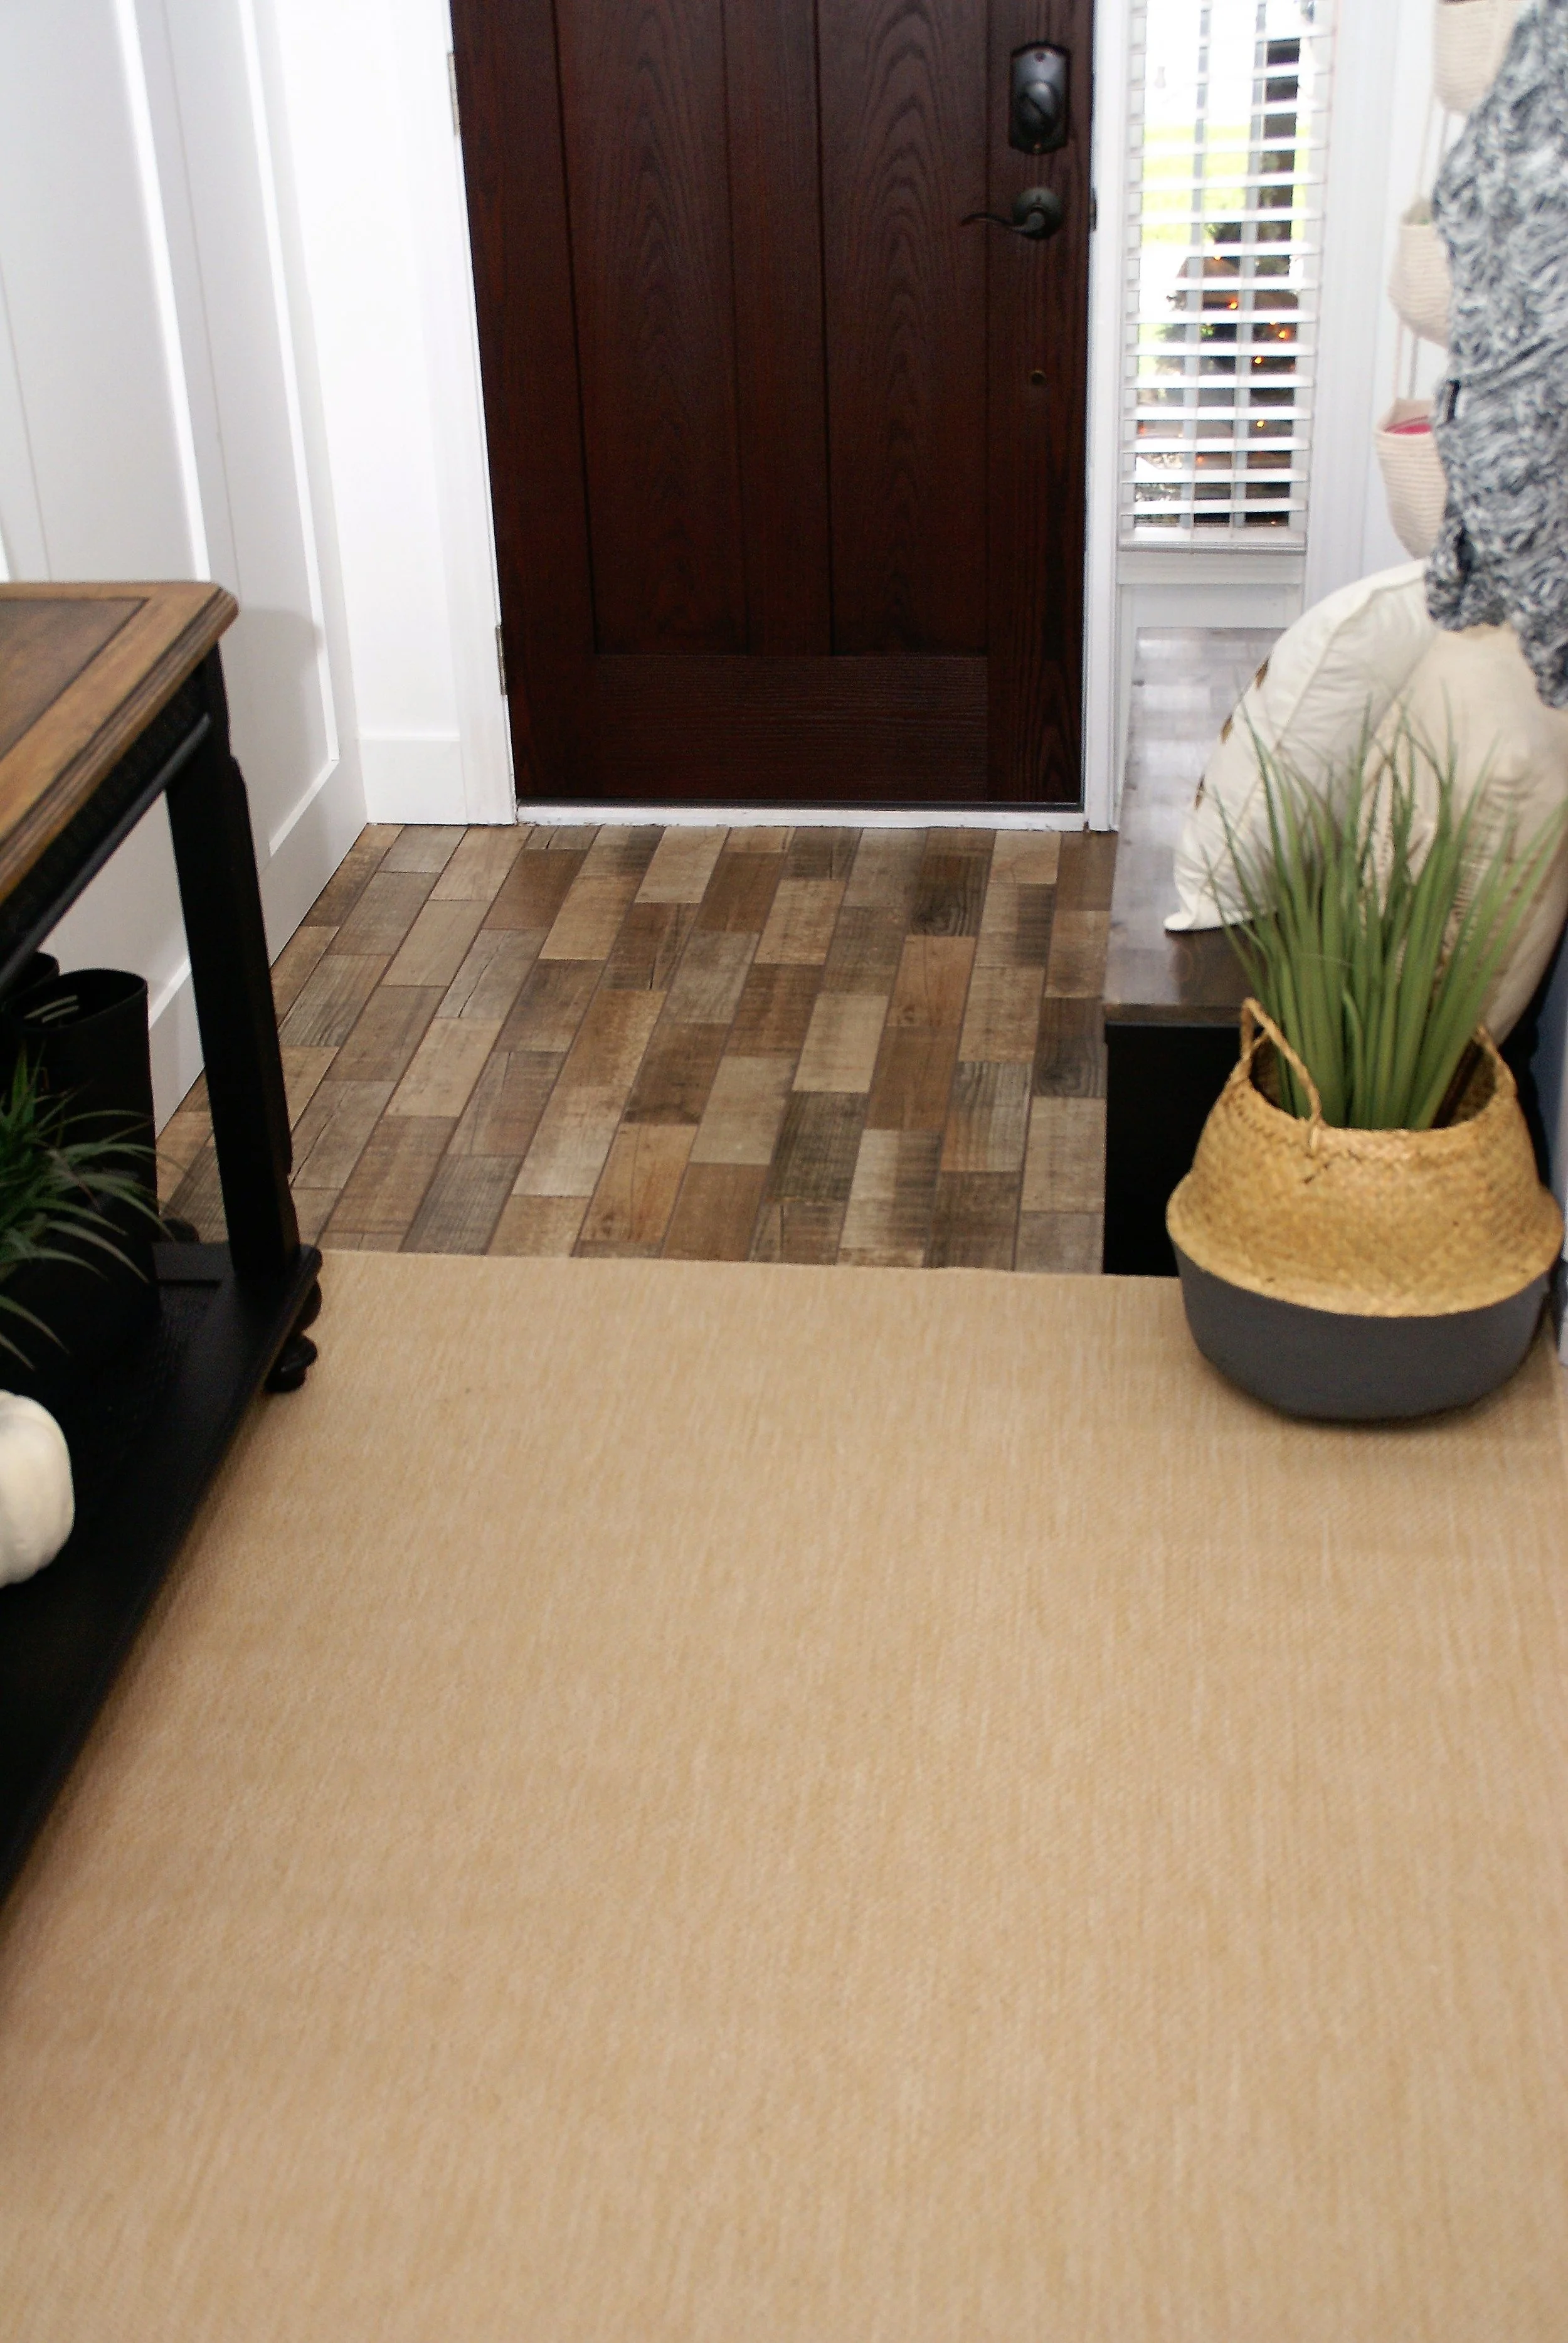
We were working with a small space as far as flooring went and we chose these beautiful 4x12 porcelain tiles in “Teakwood” from Jeffrey Court Tiles. They look like reclaimed wood and totally flow with the cozy, rustic vibe we have throughout the rest of our house. I never for a moment doubted our choice but picking tiles online and seeing them in your own home are two totally different things! These were definitely the perfect choice.
After we finally got the tiles laid and grouted we moved onto the wallpaper. This peel and stick wallpaper is from our friends at RoomMates Decor. It is part of their Bohemian line and I think you will all agree it is absolutely GORGEOUSl. The design is definitely outside of my normal comfort zone of dark accent colours but my goal was to lift and lighten this space and this wallpaper did exactly that that. I am absolutely in love with it, did I say that already? I am ready to use it in other rooms in our house! Next to the tiles, the wallpaper is a fan favourite for everyone who has dropped by to see our newly made over entryway.
Isn’t the wallpaper beautiful? We still can’t believe this is the same space!
And to add a little extra pizzaz to the space, we used some of the leftover wallpaper in this little “nook” that never looked just right. I always felt like this little niche needed a light but there is no electricity up there, and sure we could of done something about that but we were running out of time! Instead I came up with the idea to attach this old pendant light to a stud up in the ceiling and using double sided tape, stuck a battery operated LED puck light up inside. It’s absolutely perfect and one of the first things your eyes are drawn to when you come in our front door. Adding this wallpaper to this space was ideal.
Once the wallpaper was complete we got to work on the board and batten feature. We used primed MDF from Home Depot and thanks to our friends at Behr Paint, we painted the lower portion of the walls in “Ultra White” from their Marquee line. Again, totally out of my normal comfort zone, these are the only white walls you will find in our house but I am loving how bright and airy our entryway is now. Behr Paint is always amazing to work with, it goes on like butter and after talking to one of the Behr Paint reps at my local Home Depot I decided to stick with a matte finish which is what we have throughout the rest of the house. And the best part is, their Marquee line is scrubbable which was important to me being a mom of teenagers and dogs.
To finish off the board and batten we added these flat black tri-hooks from Liberty Hardware. We made sure to screw them into a stud because I wanted them be functioning coat hooks for when friends and family drop by. We also changed out our light switches to black to compliment the flat black switch plate covers also from Liberty Hardware. Don’t tell my hubby but now i’d love to change out all of our switches and outlets to black in the entire house!
I’m sure the beautiful console table and bench have caught your eye by now too. Thanks to my friends at Fusion Mineral Paint I was able to transform them both to not only tie in with the new entry way, but they also keep the rustic, coziness of our home flowing from the front door to the back. I painted these two pieces in Coal Black and the tops are finished in their Stain and Finishing Oil in “Cappuccino”. I also used some of the wallpaper in the cubbies under the bench for the perfect finishing touch. I love Fusion Mineral Paint, no matter the colour, the paint is easy to use, the coverage is amazing, two coats of paint on each of these pieces was all it took. Aren’t they beautiful?
We also decided to change out our closet door. I was really torn as to what type of door because I’ve been toying with the idea of a Barn Door for ages. I worried I would miss the mirrors in this space so we decided to get the best of both worlds with this beautiful new closet door from Rona. We still have the mirrors that we love in the space but instead of the dated white metal trim that was on the old mirrors, now we have the rustic barn board look that ties in perfectly with the wallpaper and the flooring.
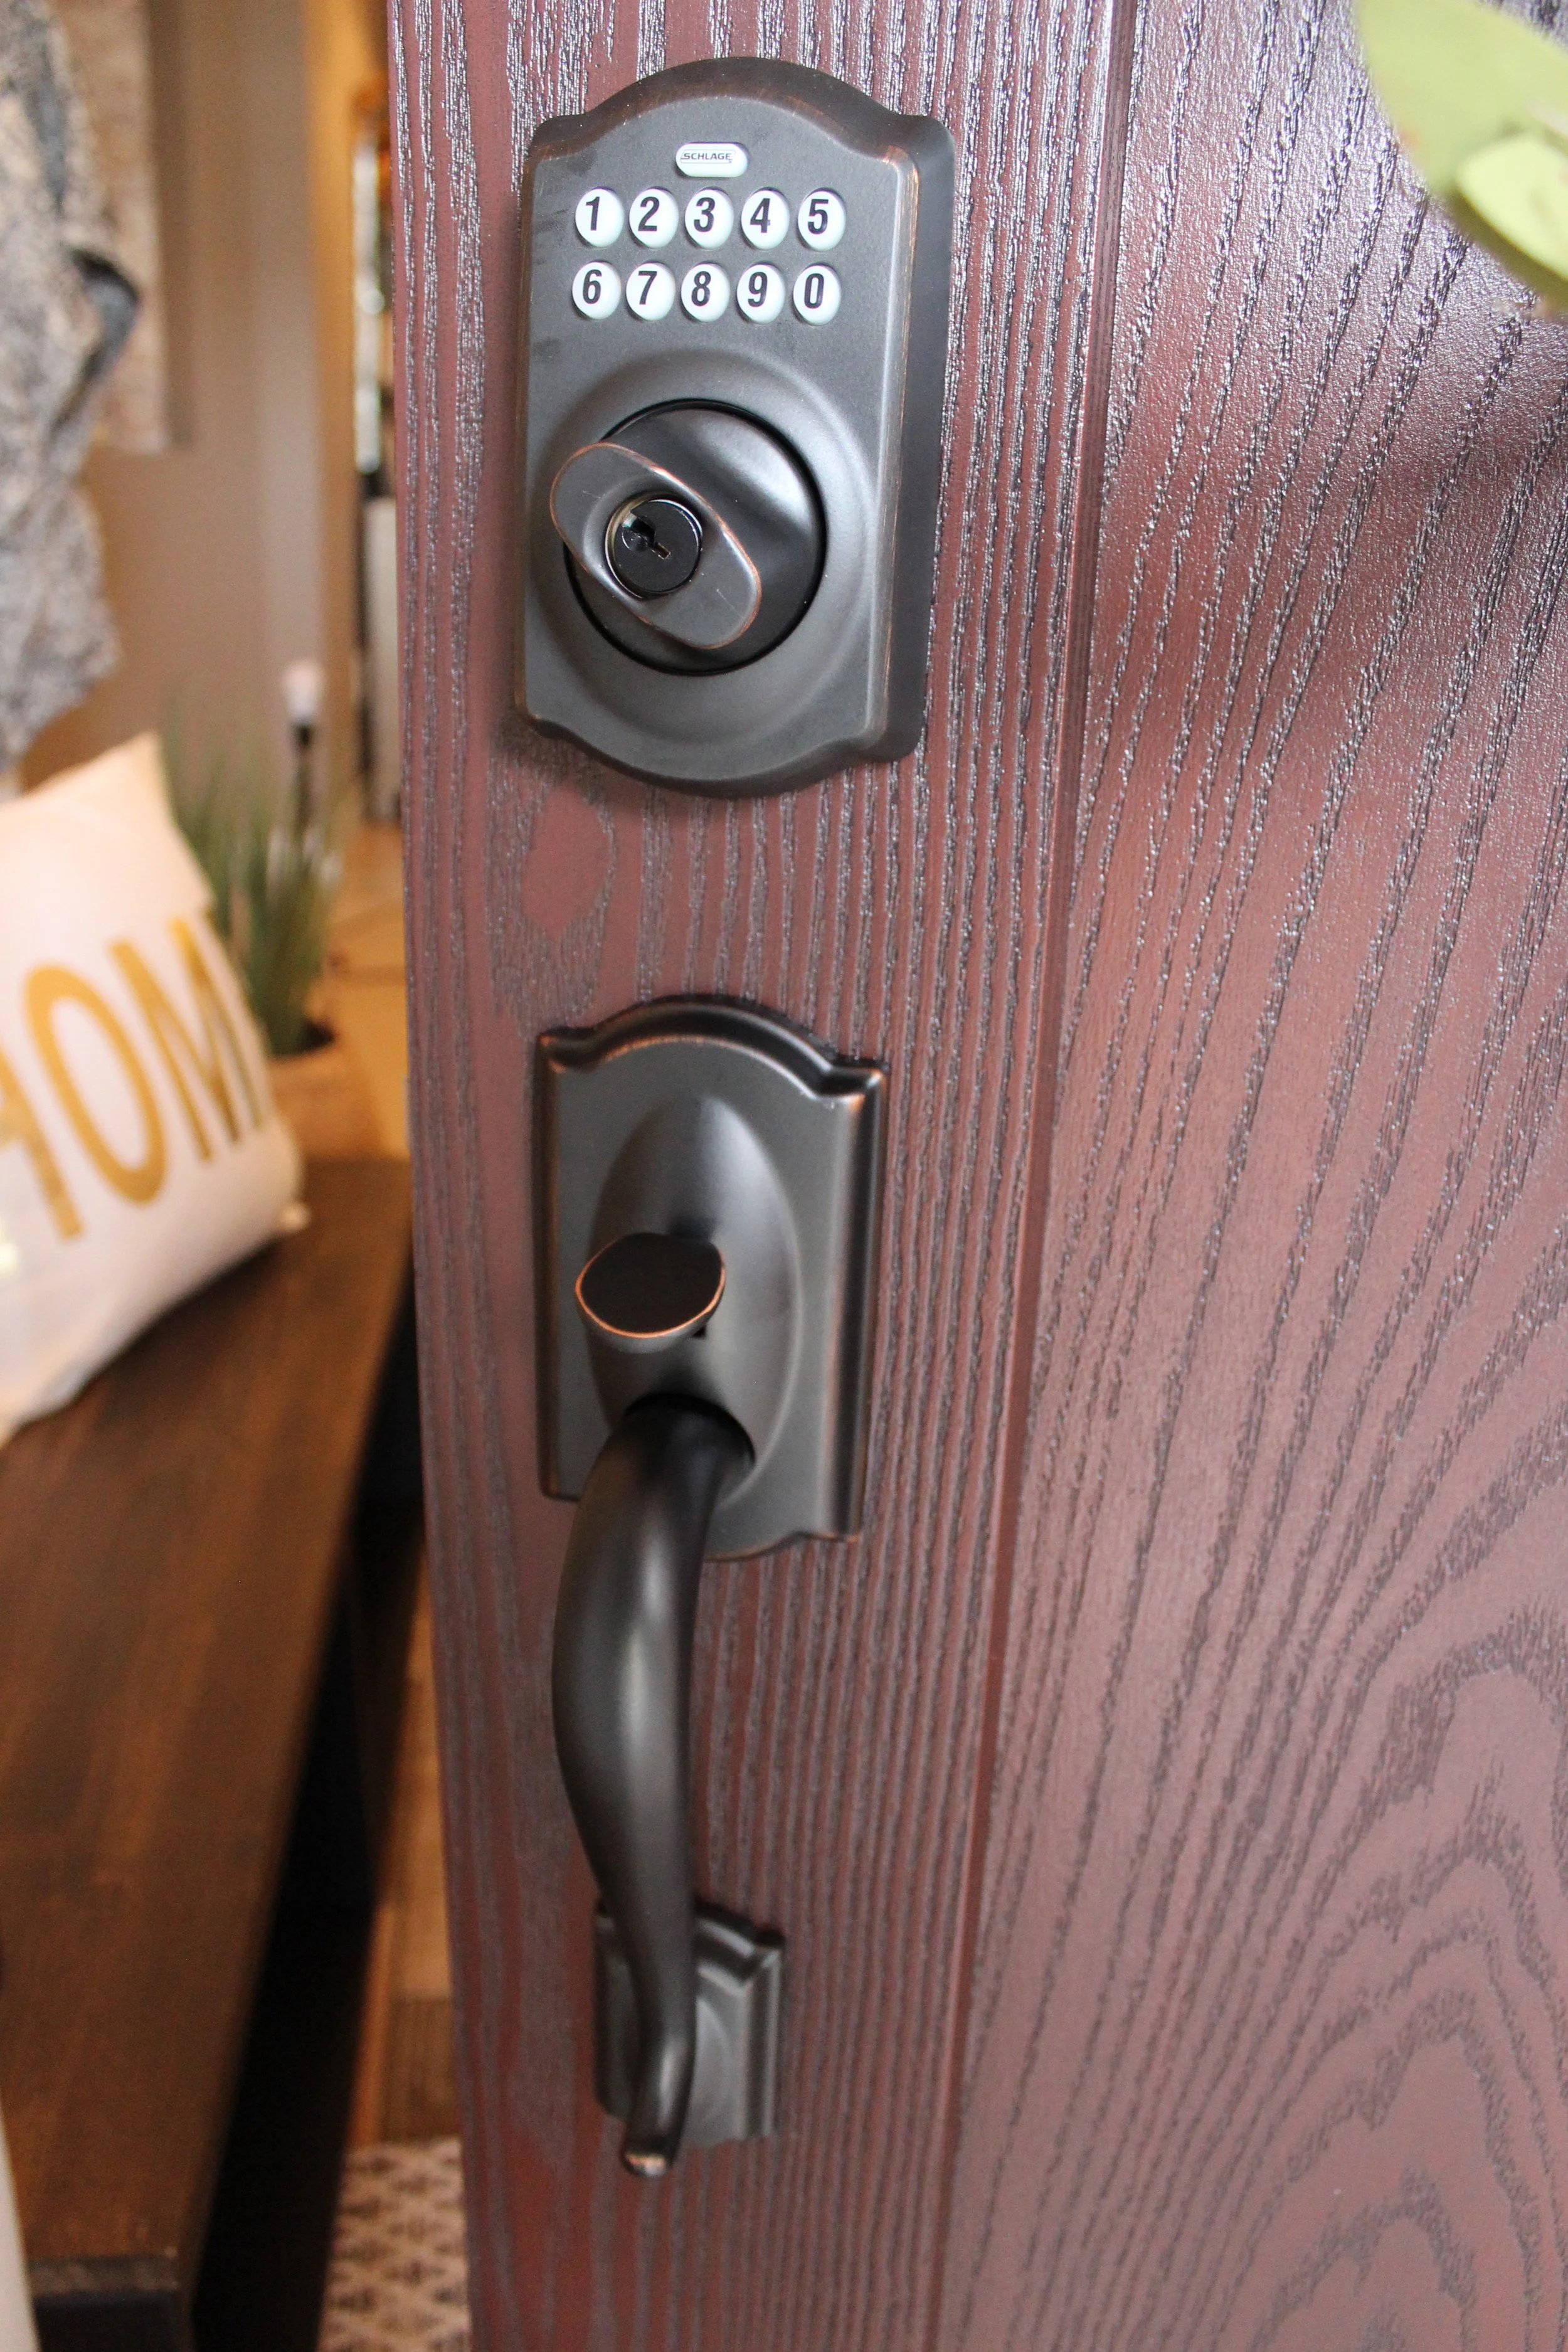
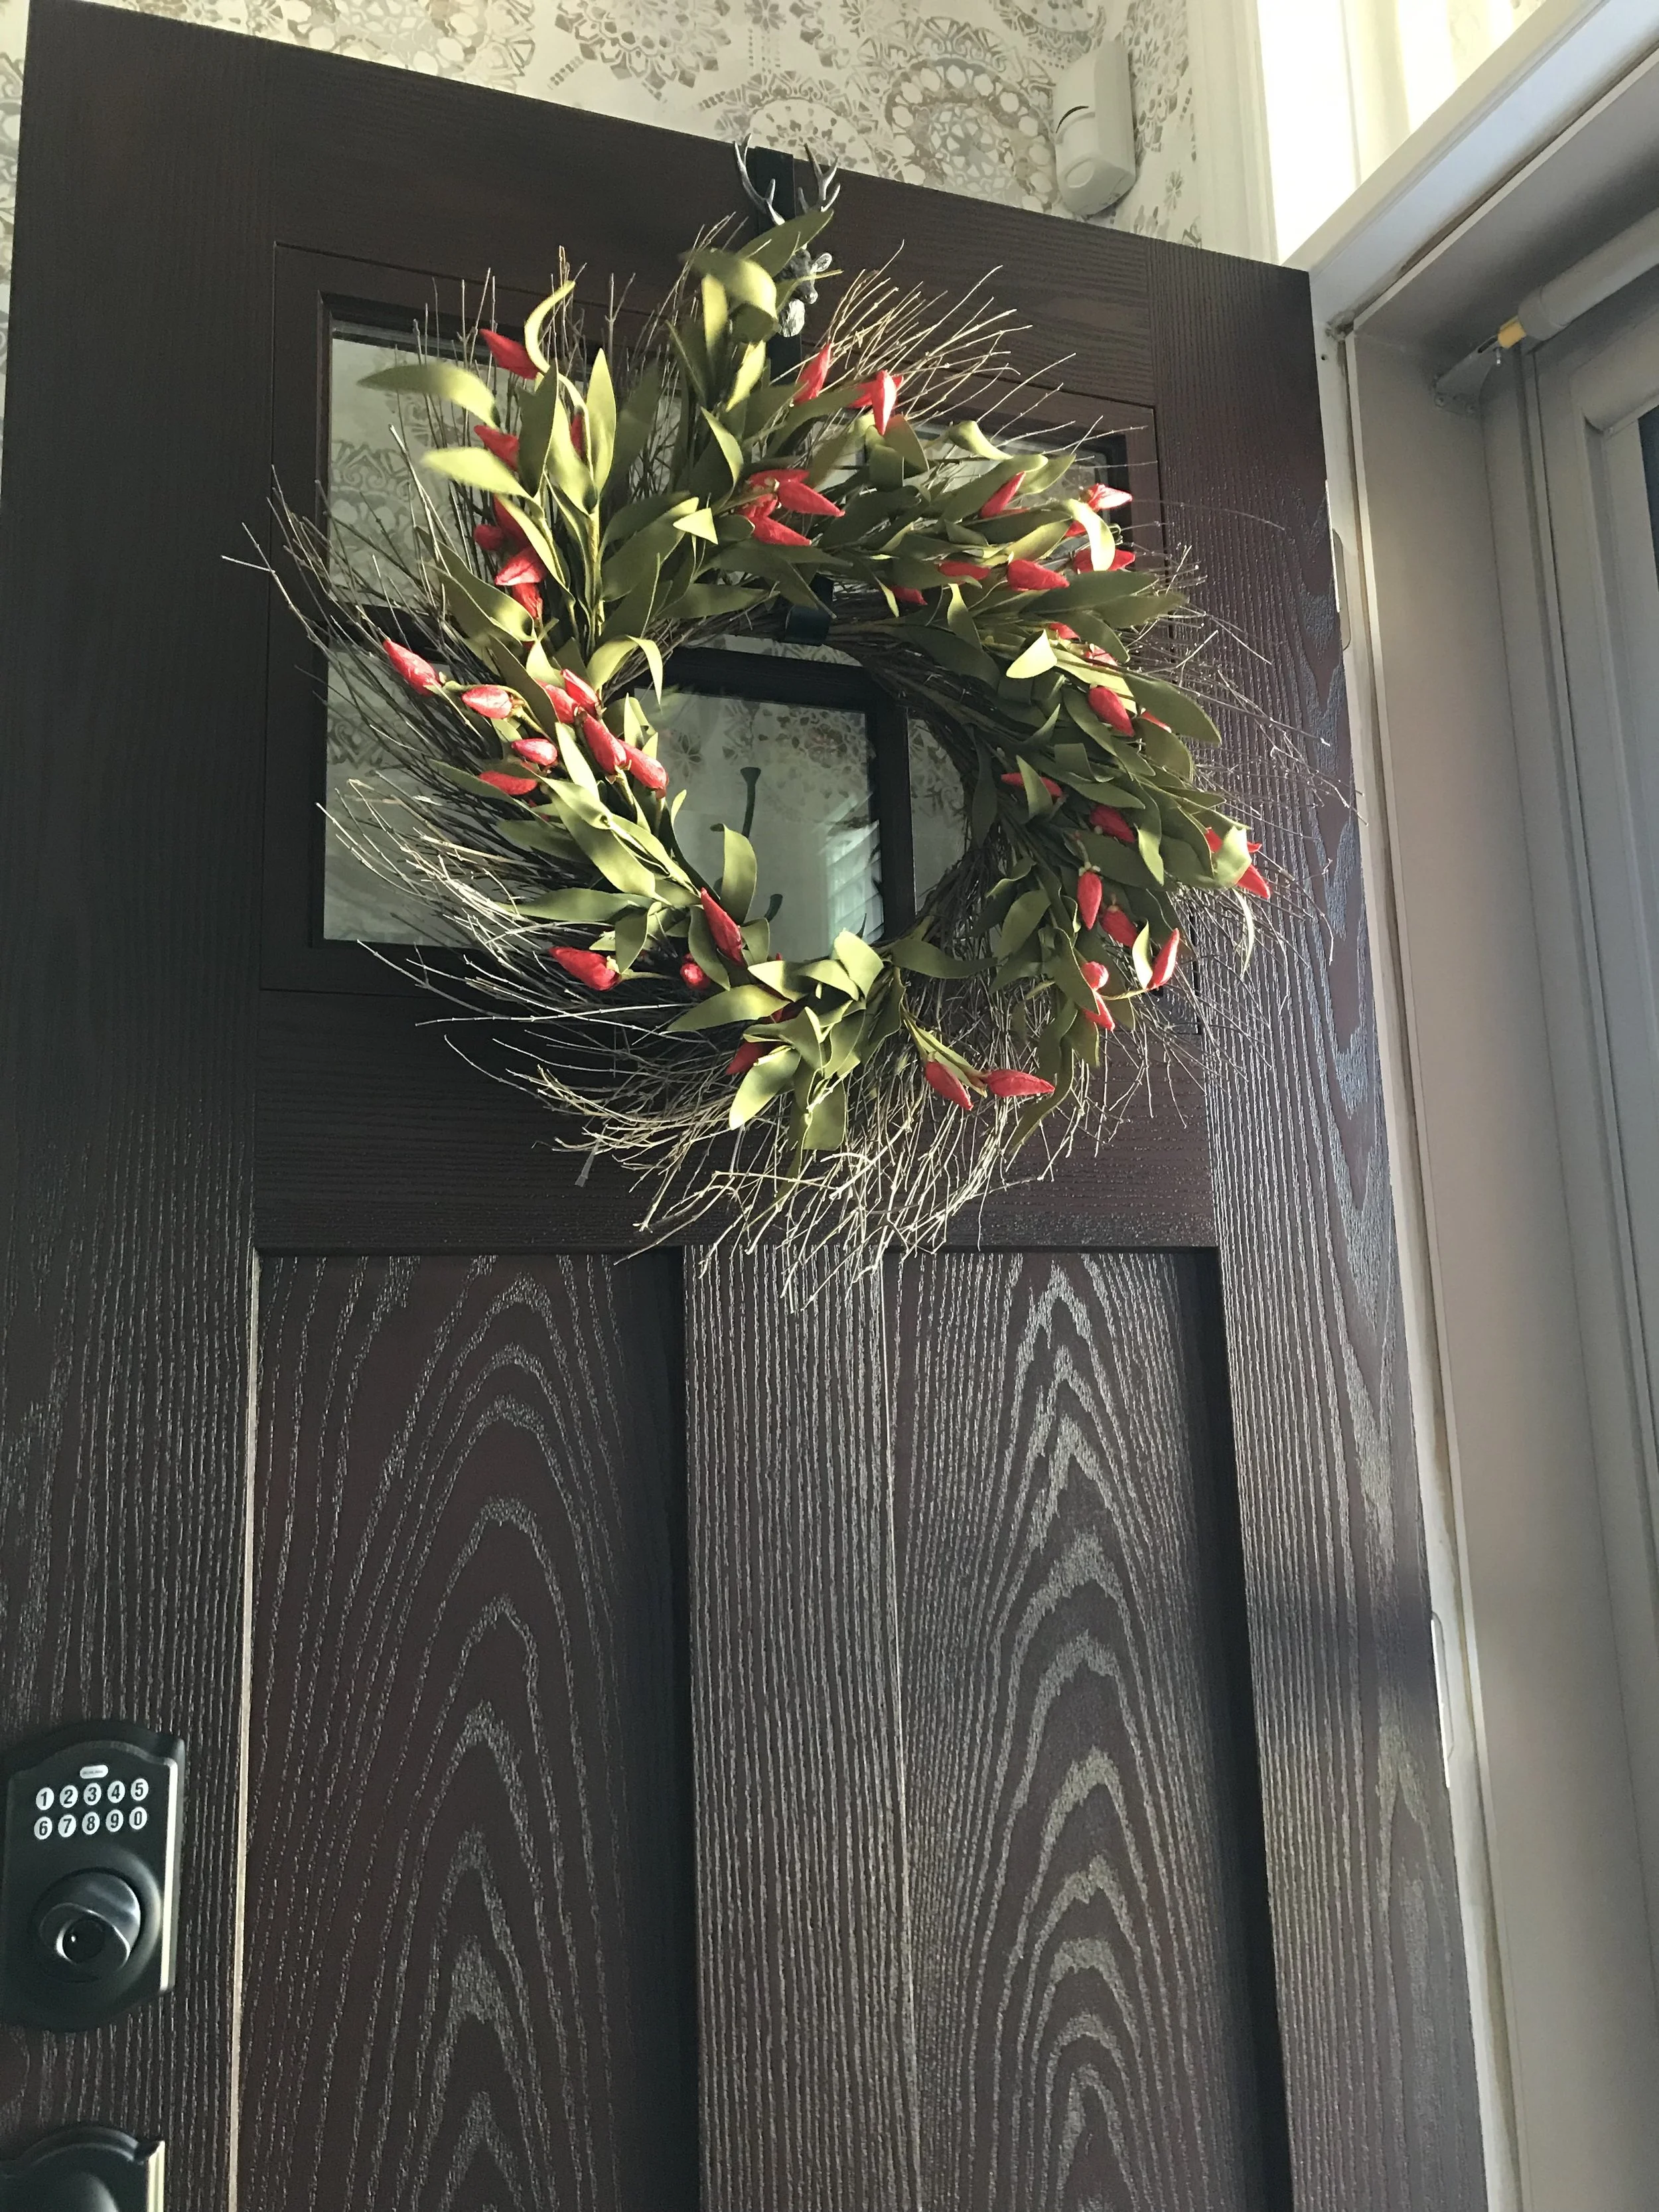
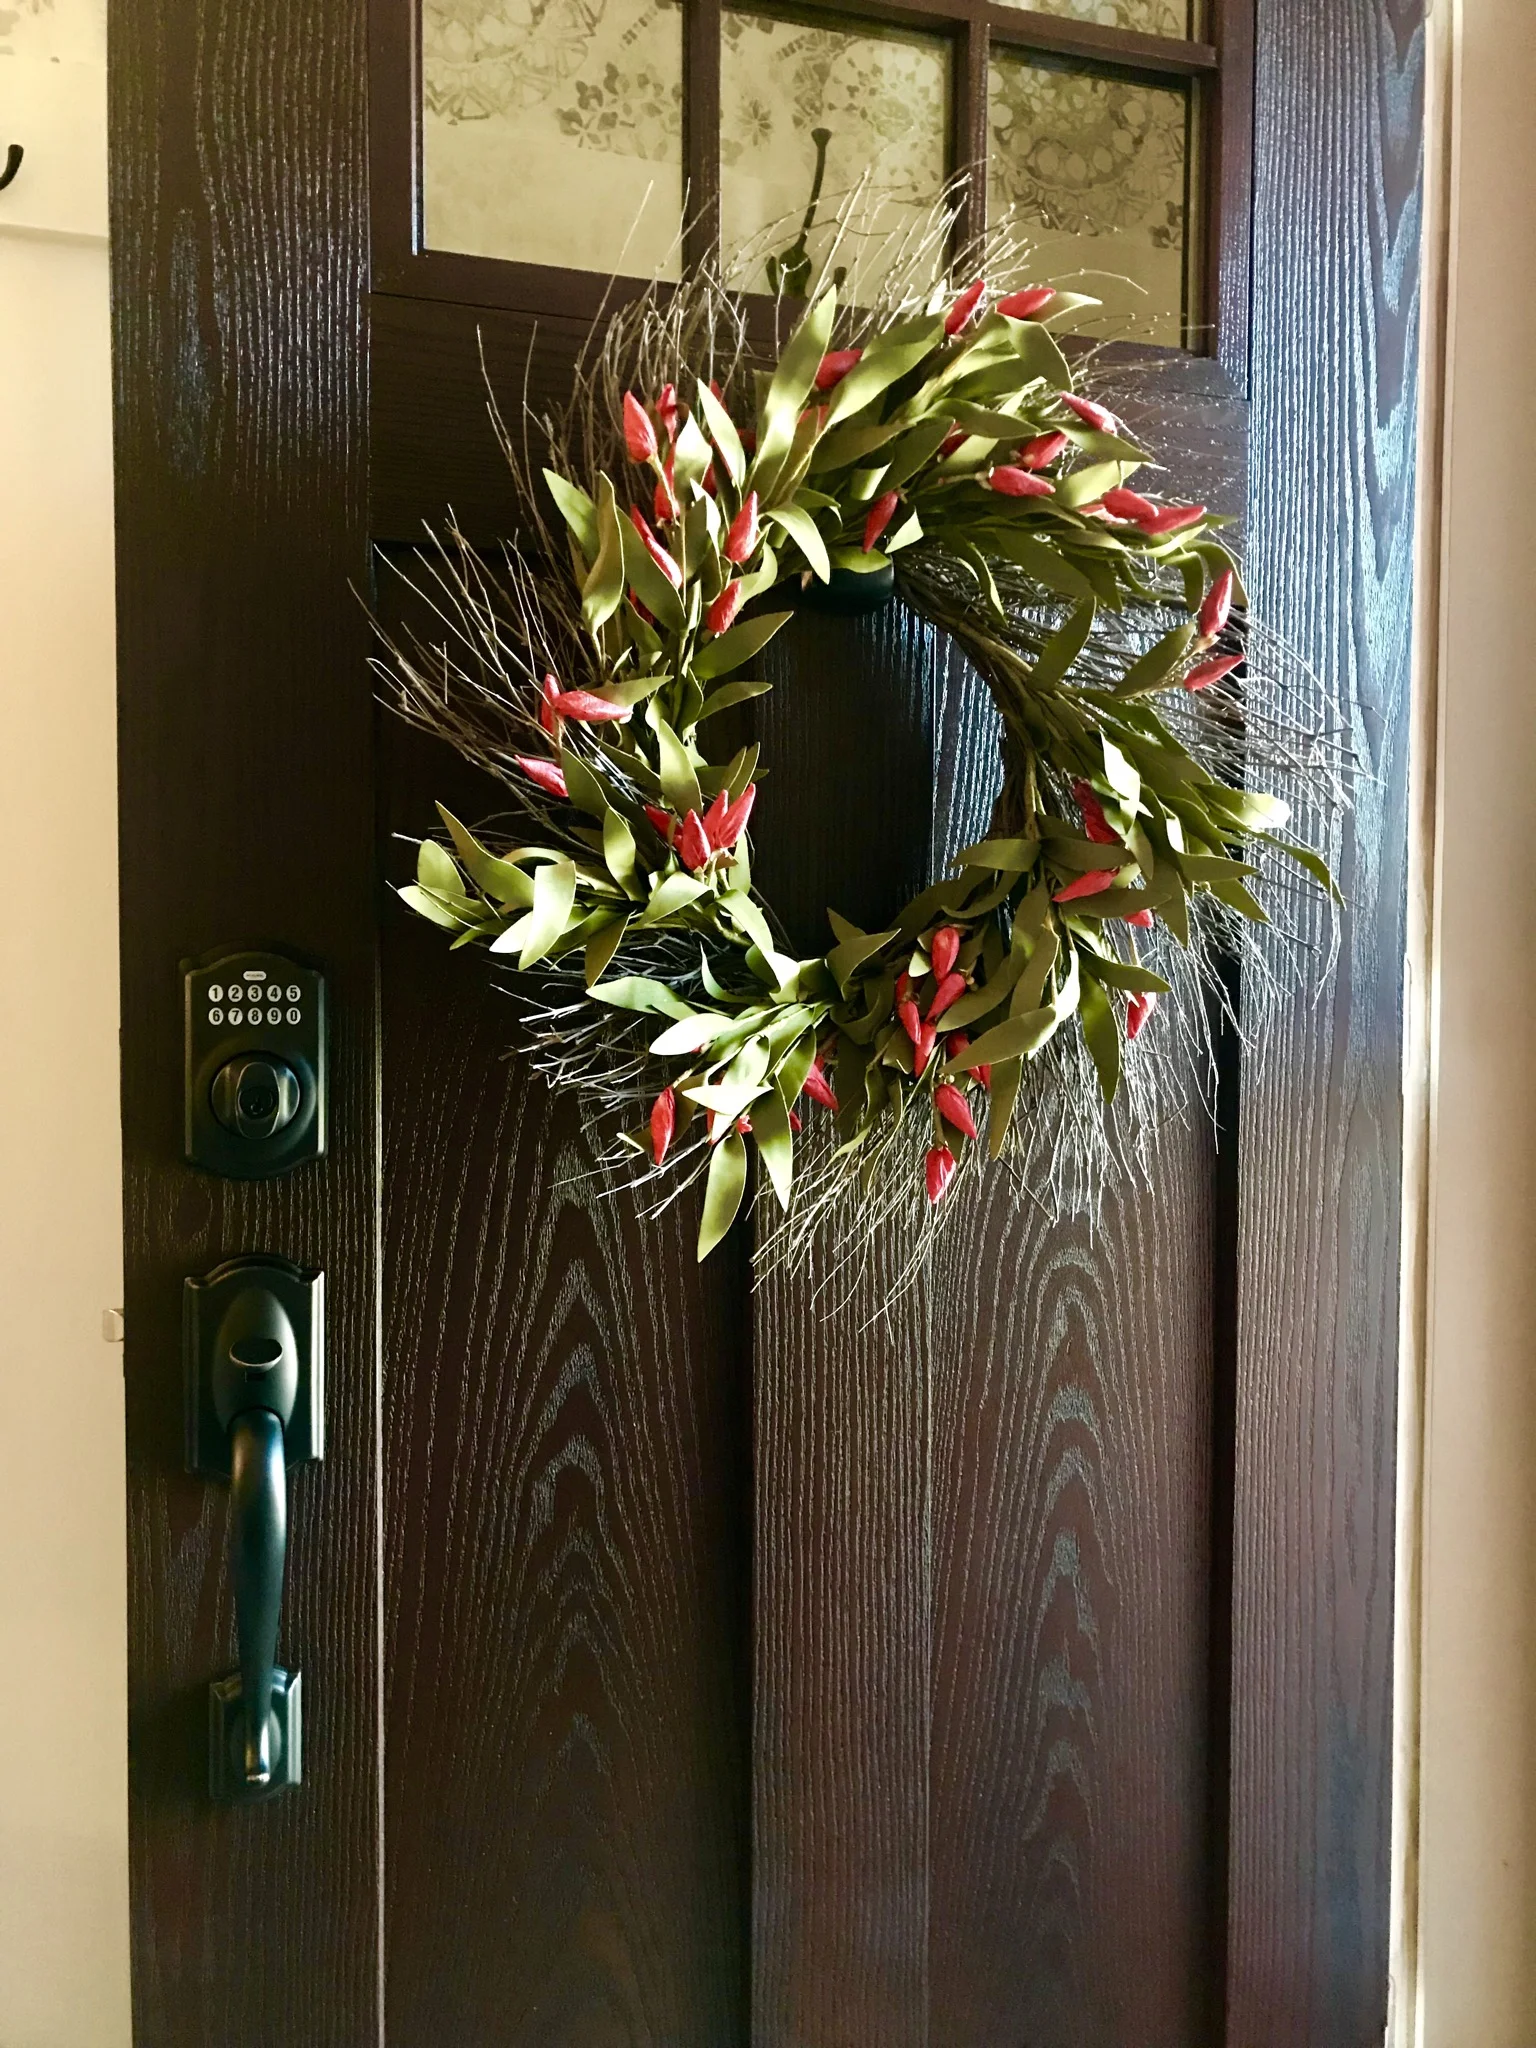
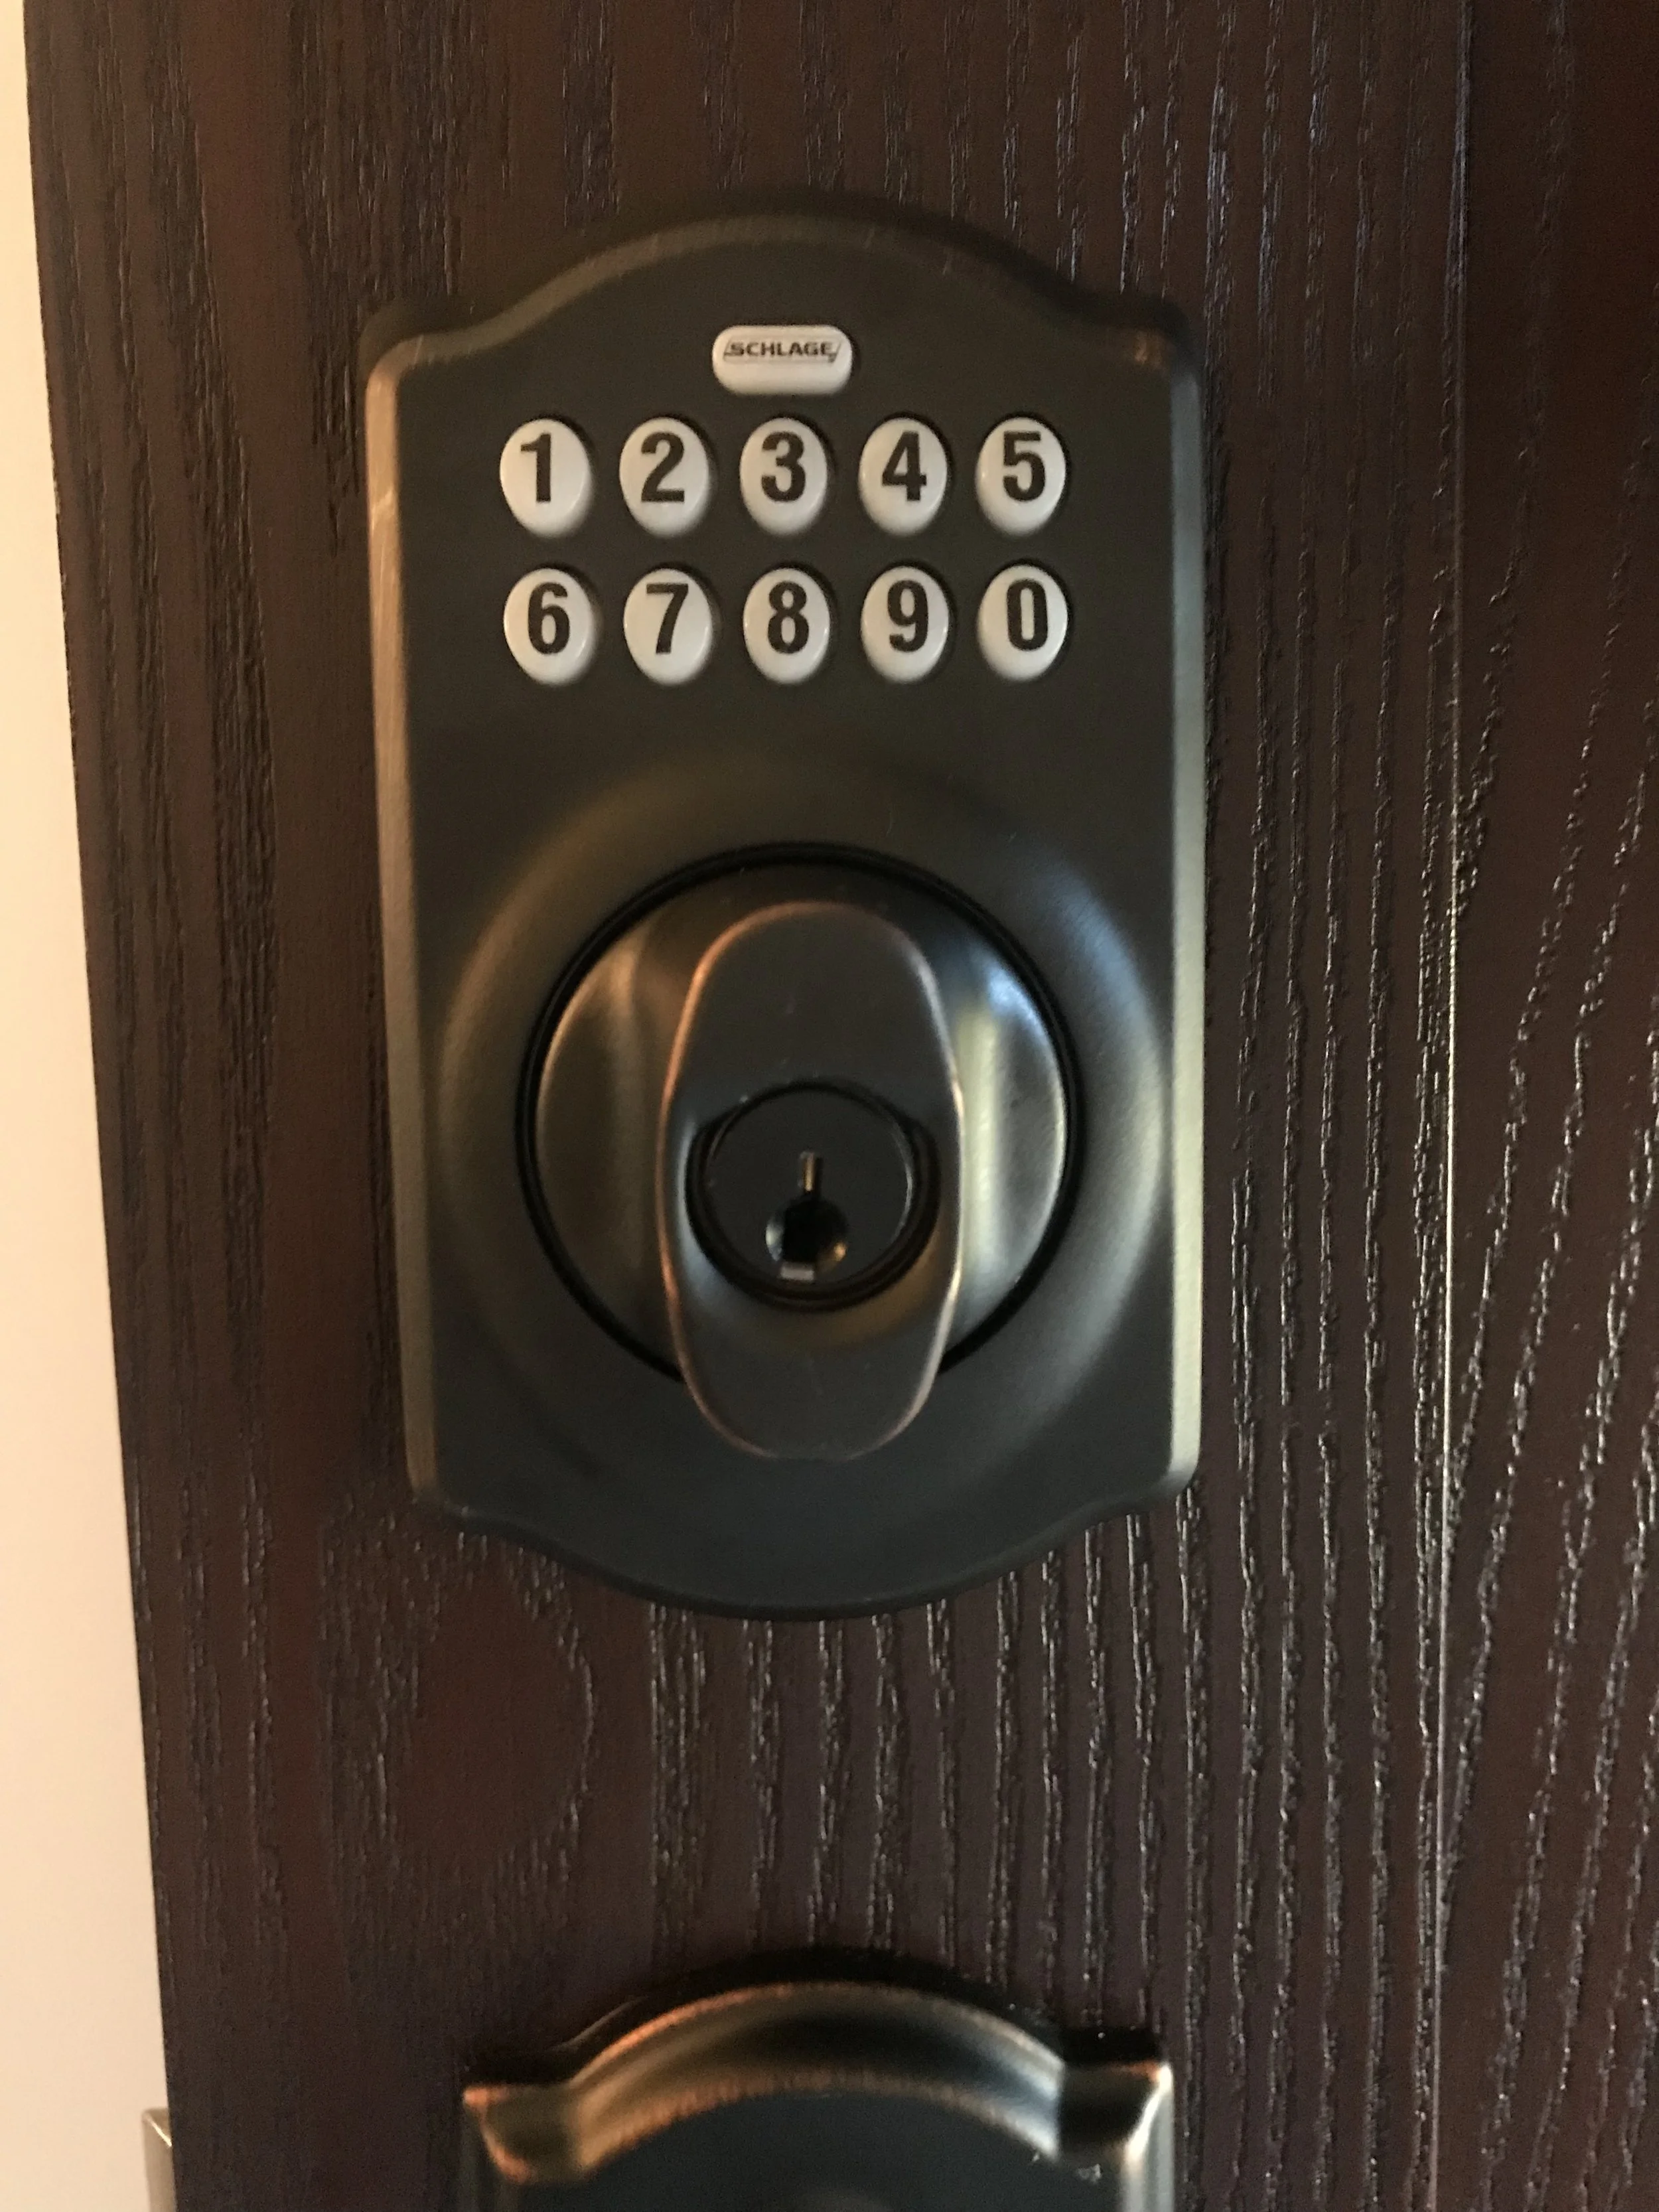
This whole entry way makeover started with our need for a new front door. It was really what convinced me to apply for this reno challenge in the first place, little did we know it would escalate so quickly into all of this! Our new front door is a Masonite Craftsman door from Home Depot and we absolutely love it. We were a little worried when it didn’t arrive in-store on time and we may or may not have stayed up until almost 11pm one night installing the new door after hubby had worked all day, but it was totally worth it! And check out that door hardware from our friends at Schlage Canada, aren’t they a match made in heaven? We are LOVING this electronic lock, it’s the perfect solution for our busy family.. I love it so much I need to tell you guys more about it in another post!
And now for the grand finale. A big THANK YOU to my friends at Wayfair Canada for all of the beautiful finishing touches you see in this space. From that gorgeous brass lamp, to the huge round mirror, the area rug, the pillows and baskets, the space would not be complete without these pieces. I had such a hard time narrowing my choices down because as you know, not only are the decor choices on Wayfair exceptional, this space was all being designed in my head and online, I had nothing in my hands, I was leaving it all to chance and hoping my choices all came together the way I envisioned them and they did.
And now for the grand finale. A big THANK YOU to my friends at Wayfair Canada for all of the beautiful finishing touches you see in this space. From that gorgeous brass lamp, to the huge round mirror, the area rug, the pillows and baskets, the space would not be complete without these pieces. I had such a hard time narrowing my choices down because as you know, not only are the decor choices on Wayfair exceptional, this space was all being designed in my head and online, I had nothing in my hands, I was leaving it all to chance and hoping my choices all came together the way I envisioned them and they did.
What do you guys think? We could probably write a book about how NOT to do a few things and sometimes we feel bad luck follows us around and lurks in every corner, behind every DIY we tackle in this house! But we learn and we grow and now we are even more ready for our next DIY project….just kidding…I promised hubby we would take a (little) break and I think you will all agree, he’s definitely earned it!
Thanks for following us on this crazy ride, your kindness and support keeps us going.
Please be sure to not only leave us a comment here and let us know what you think of our new entry way, after you’re done, head to the Reno Challenge website and check out what all the other lovely designers have accomplished in their six weeks.
Cheers to DIYs!
Michele & Alan (otherwise known as my handy hubby)
P.S. I had some help with my reveal photos along the way from family and friends but I have to give the biggest thanks to Chuck at Calira Media. He literally dropped by our house hours before the deadline photos were due and totally encapsulated the space in a way that was unimaginable to me! Thank you Chuck and if you are local and need amazing photos he’s your guy!

