Up North Kitchen Makeover Reveal
Hi friends, I know so many of you have been following along all summer as we have slowly worked away on our kitchen up north! We really only started the project in early July and we aren't even at the end of August but for some reason I feel like it took us forever. I guess because we have been back and forth between here and home and hubby was technically on vacation! But now it is done and we are SOOOOOO happy with the outcome. Everytime we've gone home and come back up north it's like Christmas morning walking into our beautiful and bright "new" kitchen.
We have been very fortunate to have the Home Depot Canada sponsor this project and can't thank them enough! They provided us with the products I will be sharing in this post and we did the work; (and by "we" I mean mostly my husband Alan. He helps me tackle any crazy DIY that I come up with and is always a good sport and does all the heavy lifting. I guess it's a good thing we share a love of DIY'S right?
We purchased our park model trailer last summer and have it in a beautiful park in Bobcaygeon, Ontario. It is more like a cottage than a traditional trailer, it's truly our home away from home. Now don't get me wrong, it's beautiful inside and out, but like anything, it was very much a cookie cutter model/layout. We were able to upgrade and pick a handful of things, but nothing in the kitchen other than the countertops and even up north, the kitchen is the heart of the home (second only to the deck!). We spent last summer settling in, building our deck and when spring arrived, I knew without a doubt we needed to put our own touch on this beauty, starting with the kitchen.
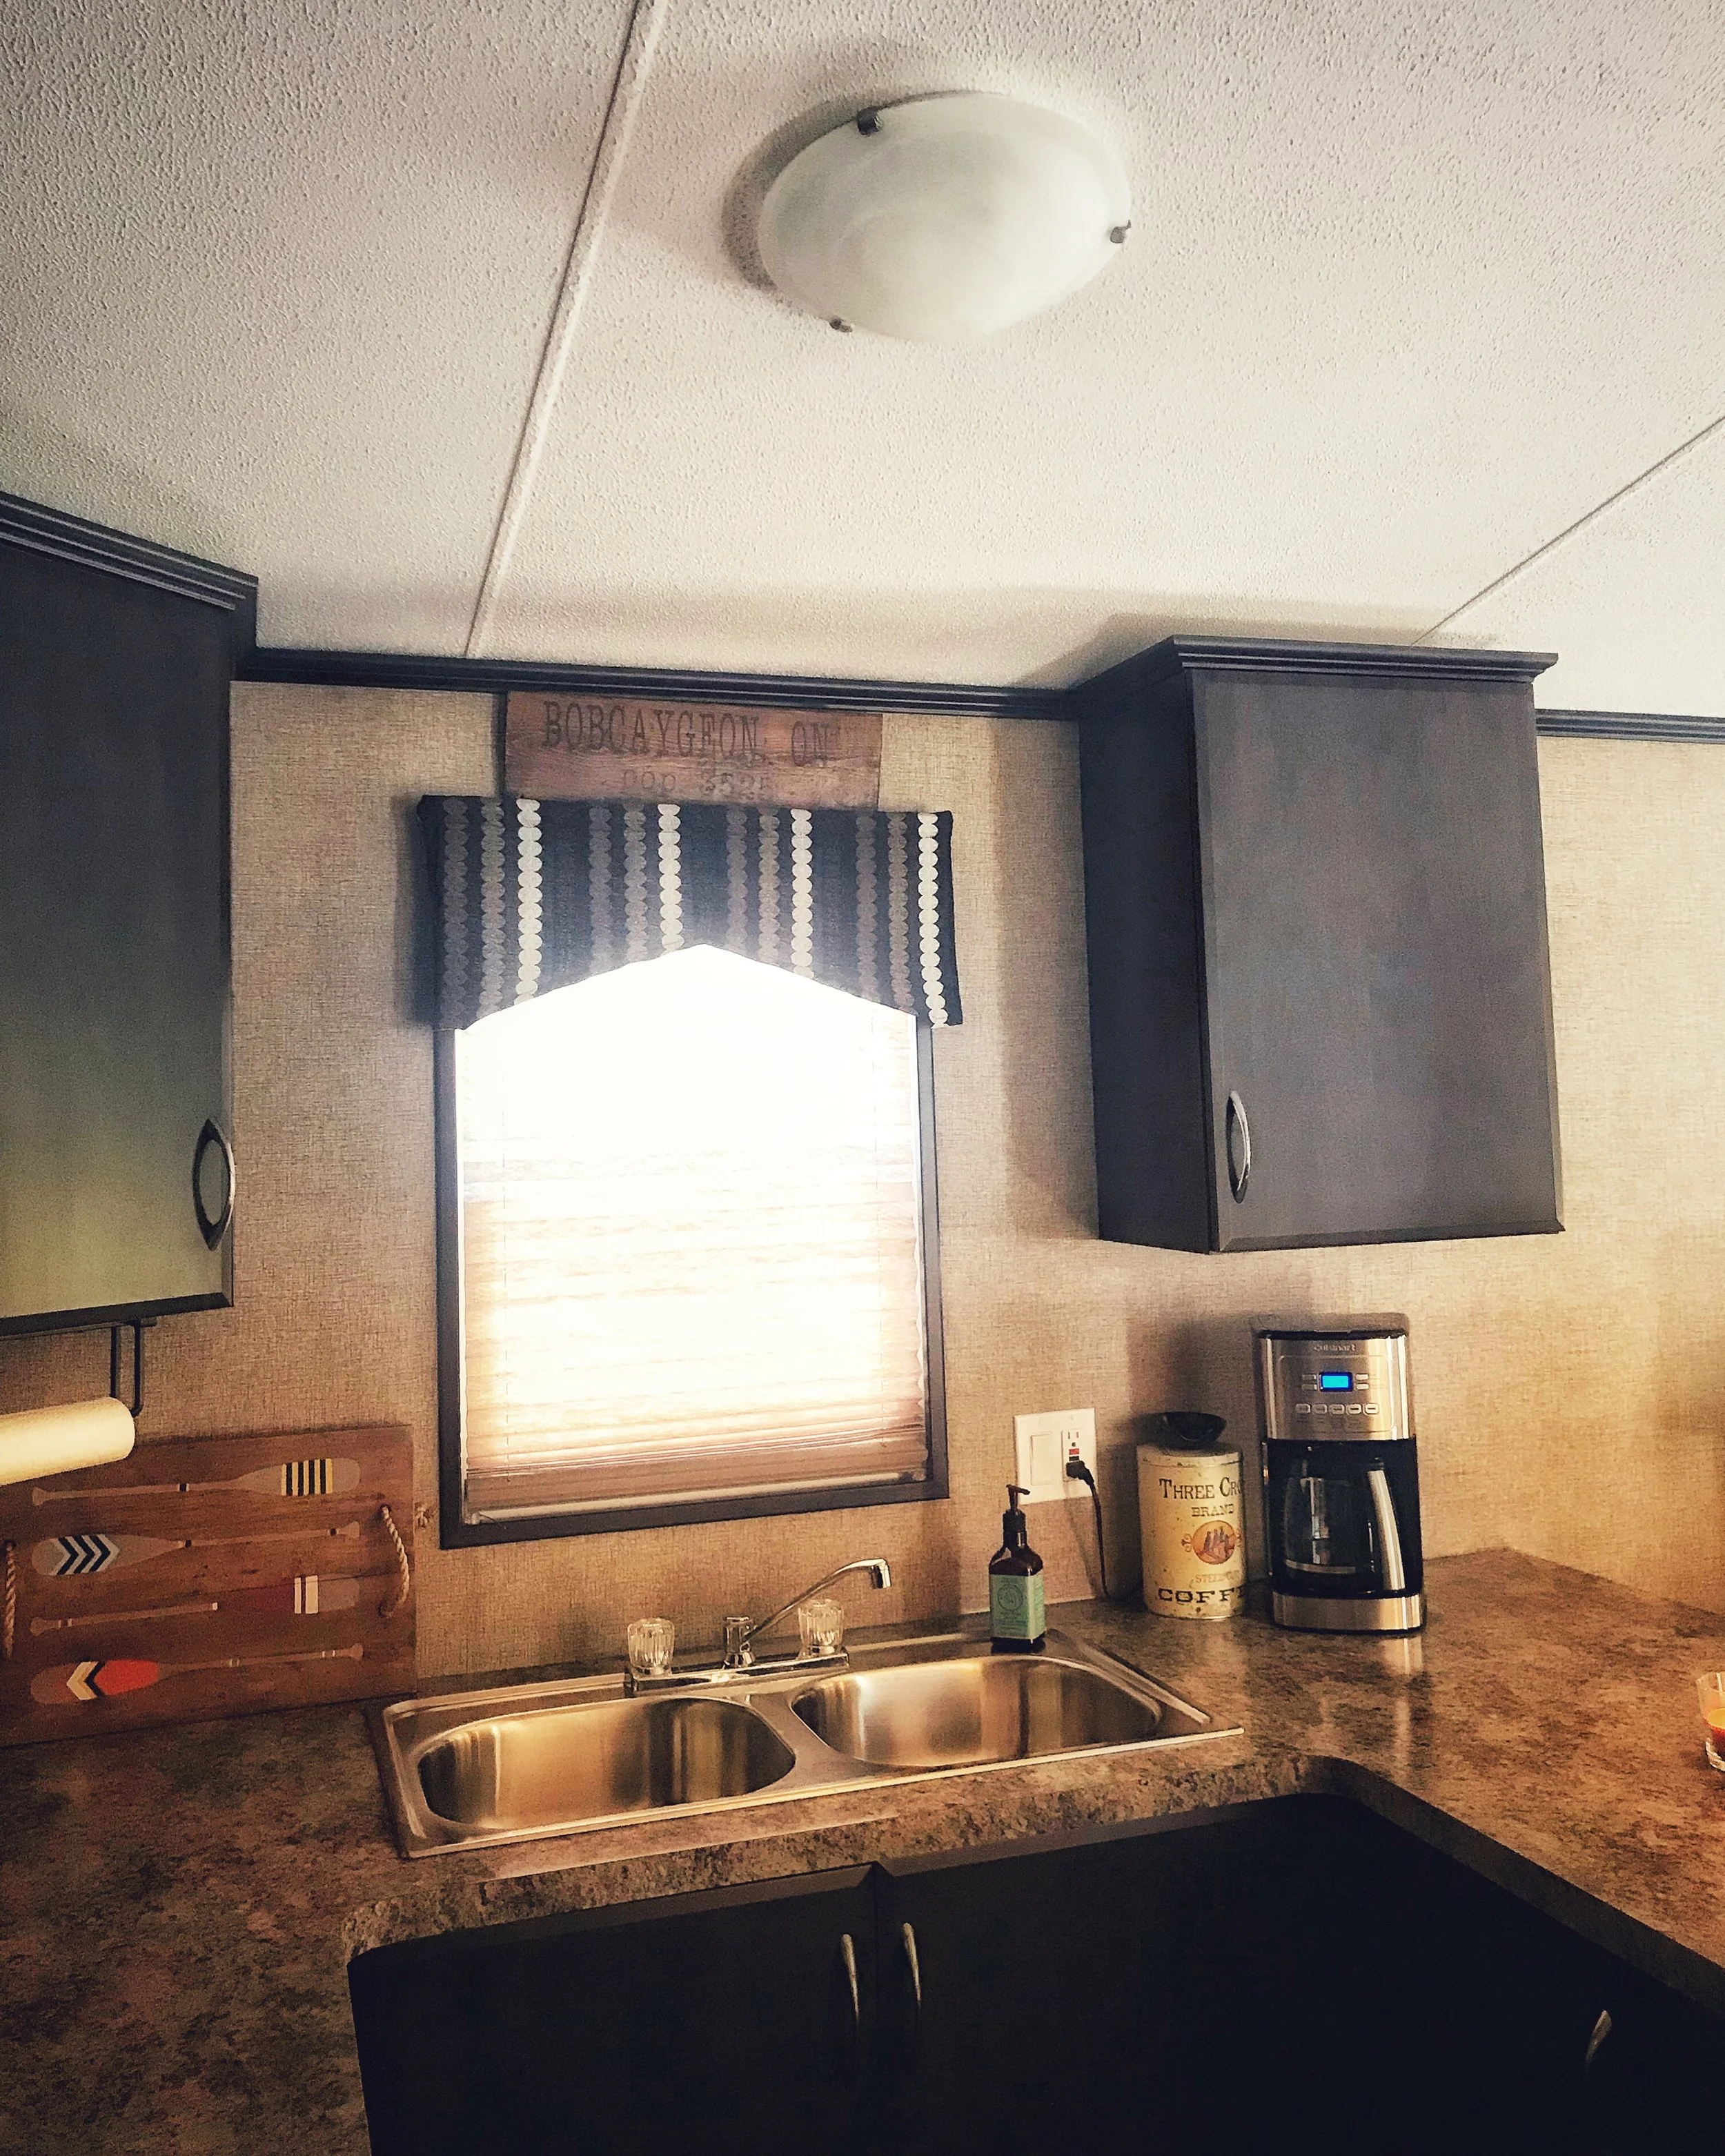
Here is our beautiful trailer and some before pics of the kitchen:


I felt a backsplash was probably our best bet for a 'big" change because the cabinets are dark and the wall space between the countertop and upper cabinets looked like a dark hole. I wanted to brighten it up but wanted to keep it simple and rustic. That's where the Speed Tiles from Home Depot came into play. Trust me folks, we research things TO DEATH before we use them and these tiles were no exception. The Speed Tiles are "peel and stick" but they are real stone, not vinyl like many of the peel and stick ones are. So basically just like a real backsplash but you eliminate the need for thinset and grout. This seemed like the perfect solution for up north when our time was a bit more limited and it meant less work and supplies we needed to bring back and forth from home. We went with the "Himalayan" stone because I felt they were the best choice to brighten the space.

While doing our research on the Speed Tiles we found that the majority of people recommended using a tool called a "Dremel" for cutting these tiles. We knew we would bring our wet saw up north but the Dremel seemed like a great suggestion so we purchased one of these at the Home Depot Canada and it was a godsend for cutting out electrical outlets, around the window, basically any small cuts. This is the model that we chose, middle of the road and it is definitely something we will use again and again.

I would not say the backsplash was "easy" to install but this was only the second backsplash we had ever done and we did manage to complete the job without any major difficulty. Once you "unpeel" the backing from a 12x12 tile sheet, you can spray the adhesive with a mixture of water and dish soap, this enables you to move the tile around and it gives you some play before the adhesive fully activates. Having the Dremel definitely made the job less time consuming. We used 24 packages of tiles in this space and were only left with a few small pieces. We ran a bead of clear silicone where the backsplash meets the countertop to finish it off. Can you believe what a difference just the backsplash made? I'm still blown away every time I walk in the kitchen!


I still felt something was missing and decided to look into some wireless LED puck lighting. I found this set at the Home Depot Canada, three puck lights and a remote control, LED's and batteries are all included. They were very easy to install with double sided tape that came with them. The remote gives you both a high/low setting as well as a 30 minute timer. They are the perfect finishing touch to showcase the backsplash and add a little ambiance in the evening.


Once the backsplash was finished we moved onto the lighting issue which was seriously lacking. Every room had a basic flush mount fixture with two 60 watt bulbs that just weren't cutting it. With the vaulted ceilings we always felt it was never bright enough while working in the kitchen or eating dinner at our kitchen table. I knew I wanted a chandelier or pendant right over the table that had at least four bulbs. I looked at several and narrowed my choice down to two and ultimately went with this beautiful wire mesh pendant light. It takes four bulbs and we are using Edison style LED bulbs which I feel gives the perfect rustic touch.

The flush mount over the kitchen sink/work area was dreadful, especially on dark days. I knew I wanted a flush mount to tie in with the rustic style of the pendant light and it had to be something BRIGHT! When we came across this oil rubbed bronze flush mount fixture at Home Depot I knew it was perfect. It is a bit pricier then other flush mounts but it has an integrated LED lighting system so it produces a TON of light but uses 70% less electricity! It is also eco friendly because the LED light source is built into the light so there are no bulbs to replace or recycle.

Did you guys get all that.......it looks beautiful, it's super bright, you don't have to replace the bulbs and it saves you money? What's not to love! We plan on replacing a couple of other flush mounts in the trailer with this same fixture down the road. If you have a space where you can really only use a flush mount fixture, I highly recommend this one!
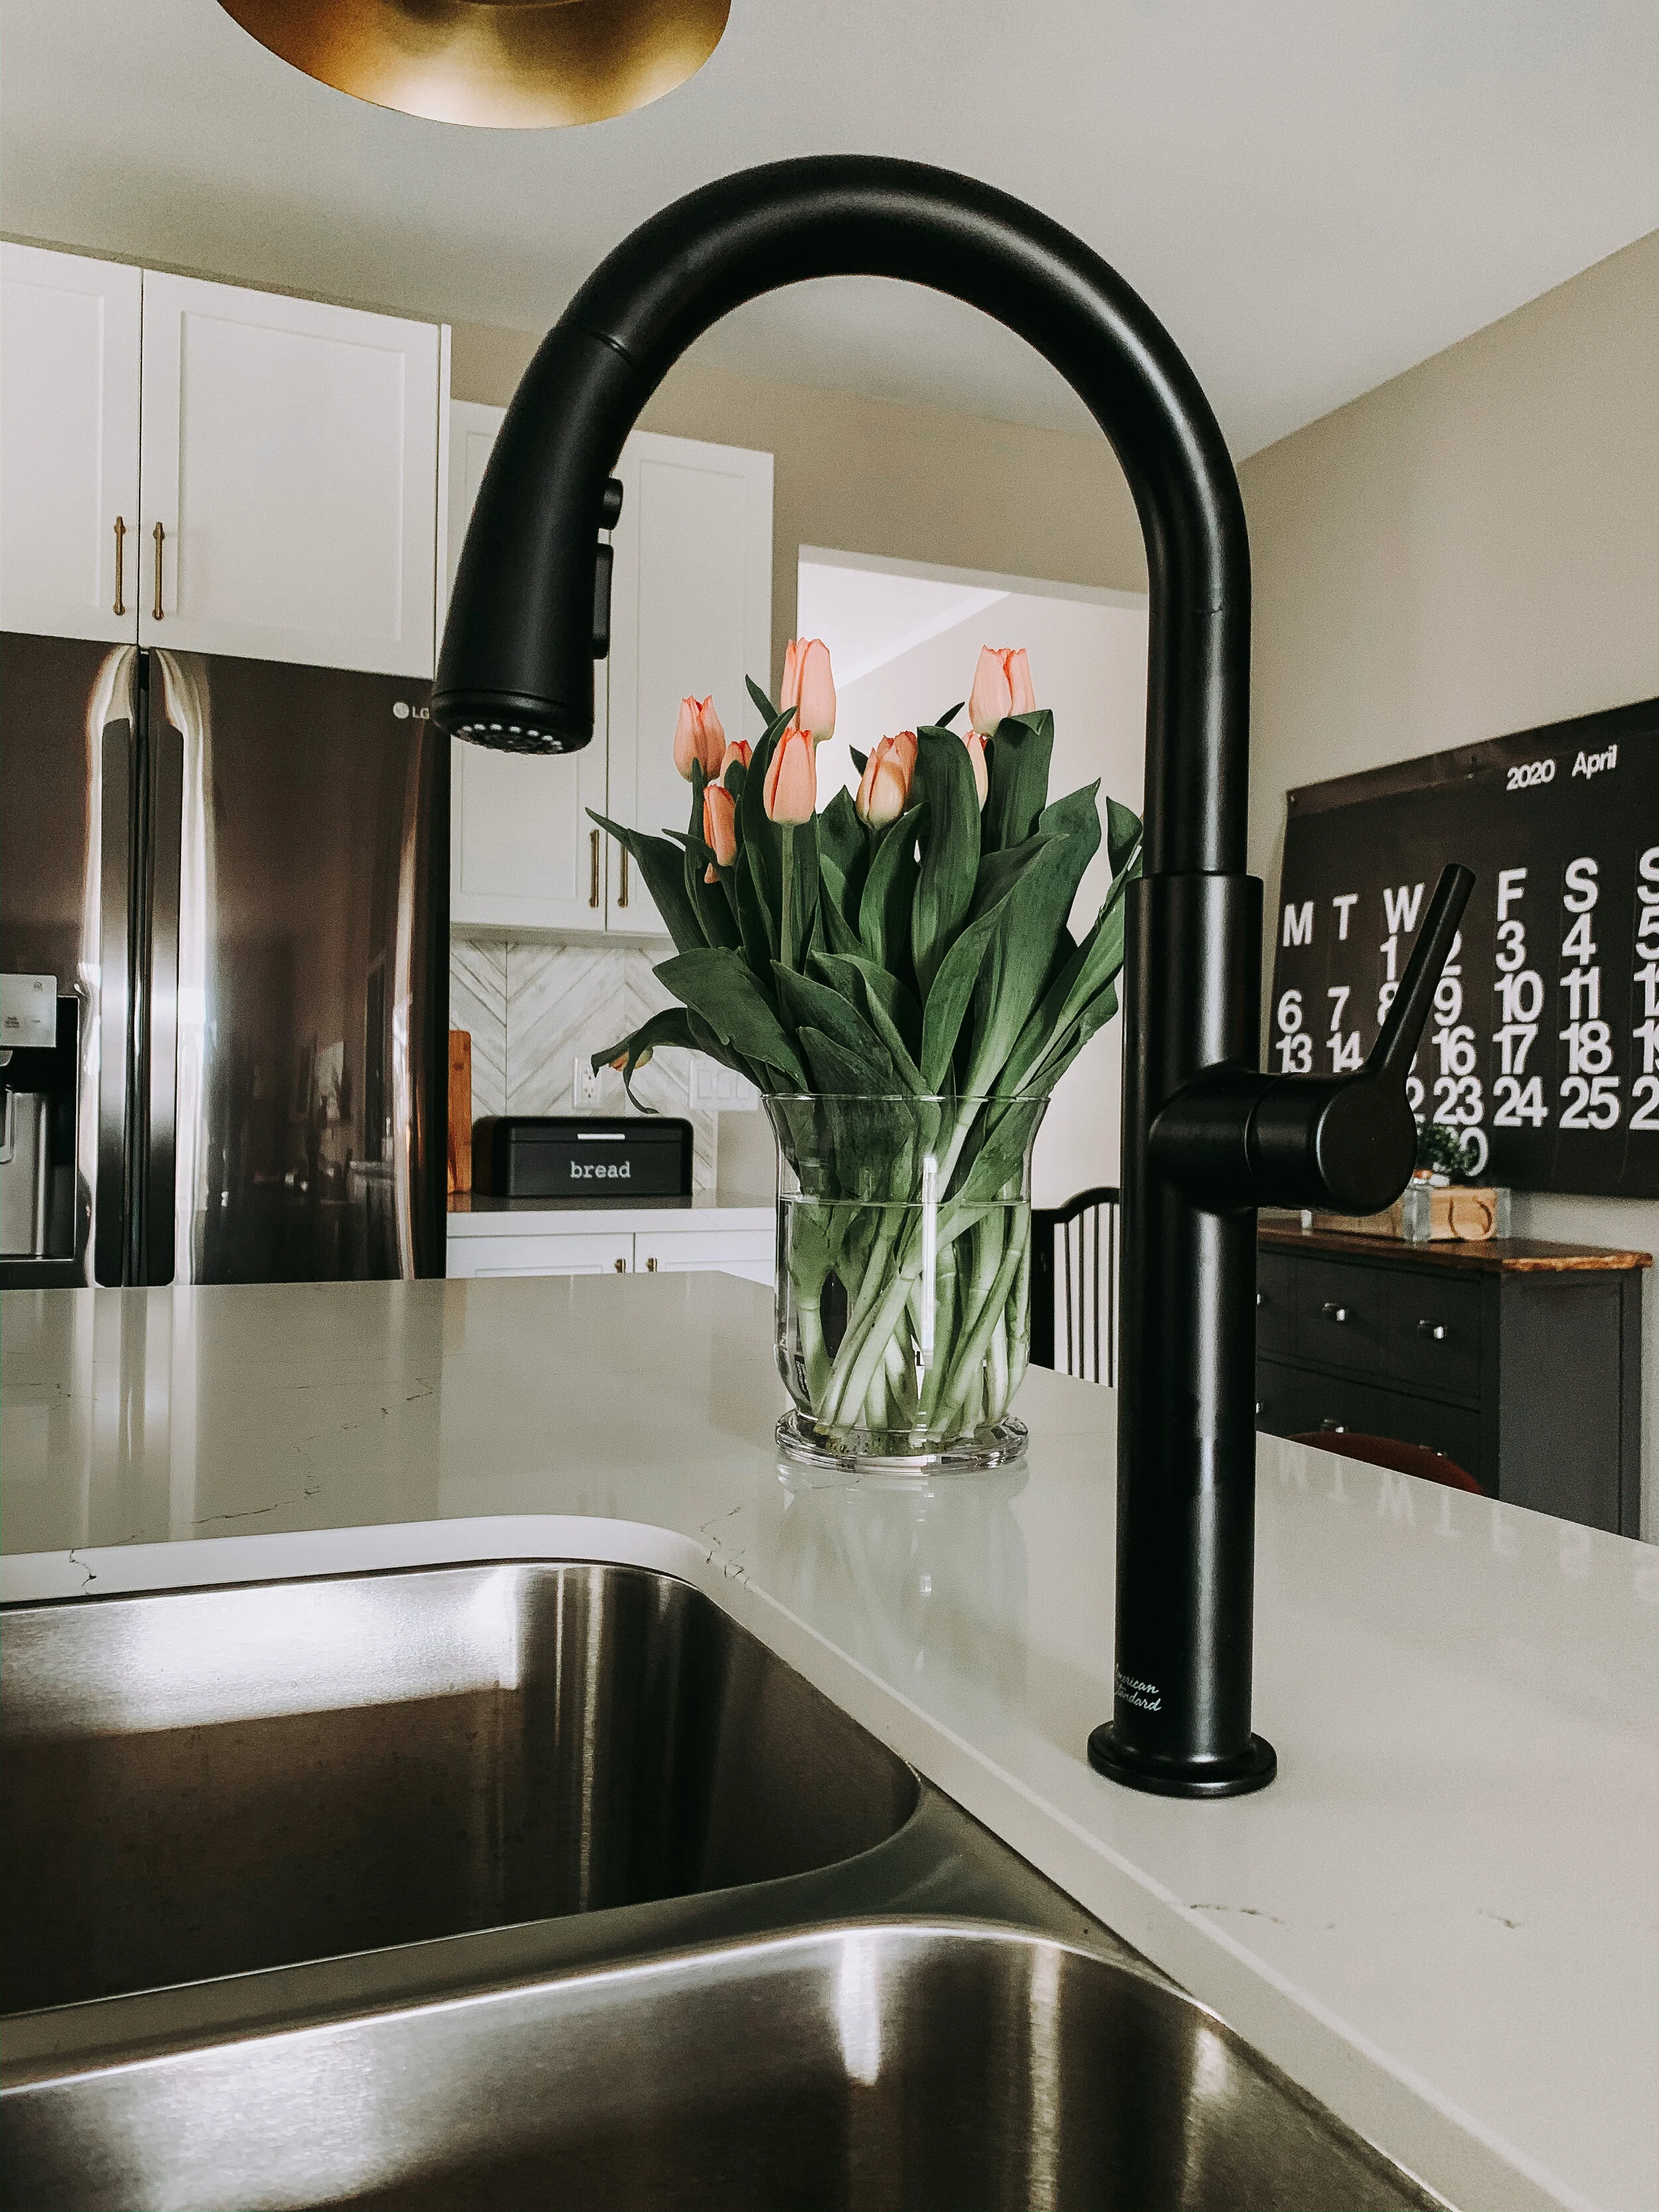
One last finishing touch in our kitchen makeover is the beautiful new faucet. This faucet was generousy gifted to us by American Standard and is from their Fairbury collection. I never once considered a black faucet for this kitchen until I saw this Fairbury faucet online and it caught my eye. Fast forward a few weeks when I was doing one of my weekly wanders through Home Depot and there it was on display, in all it's glory. What can I say, I was smitten! I absolutely love the single handle pull down sprayer, you can easily maneuver back and forth between a steady stream and a spray with one hand, it also has a pause feature. I love the gooseneck, it swivels 360 degrees which makes cleaning the double sinks a breeze.
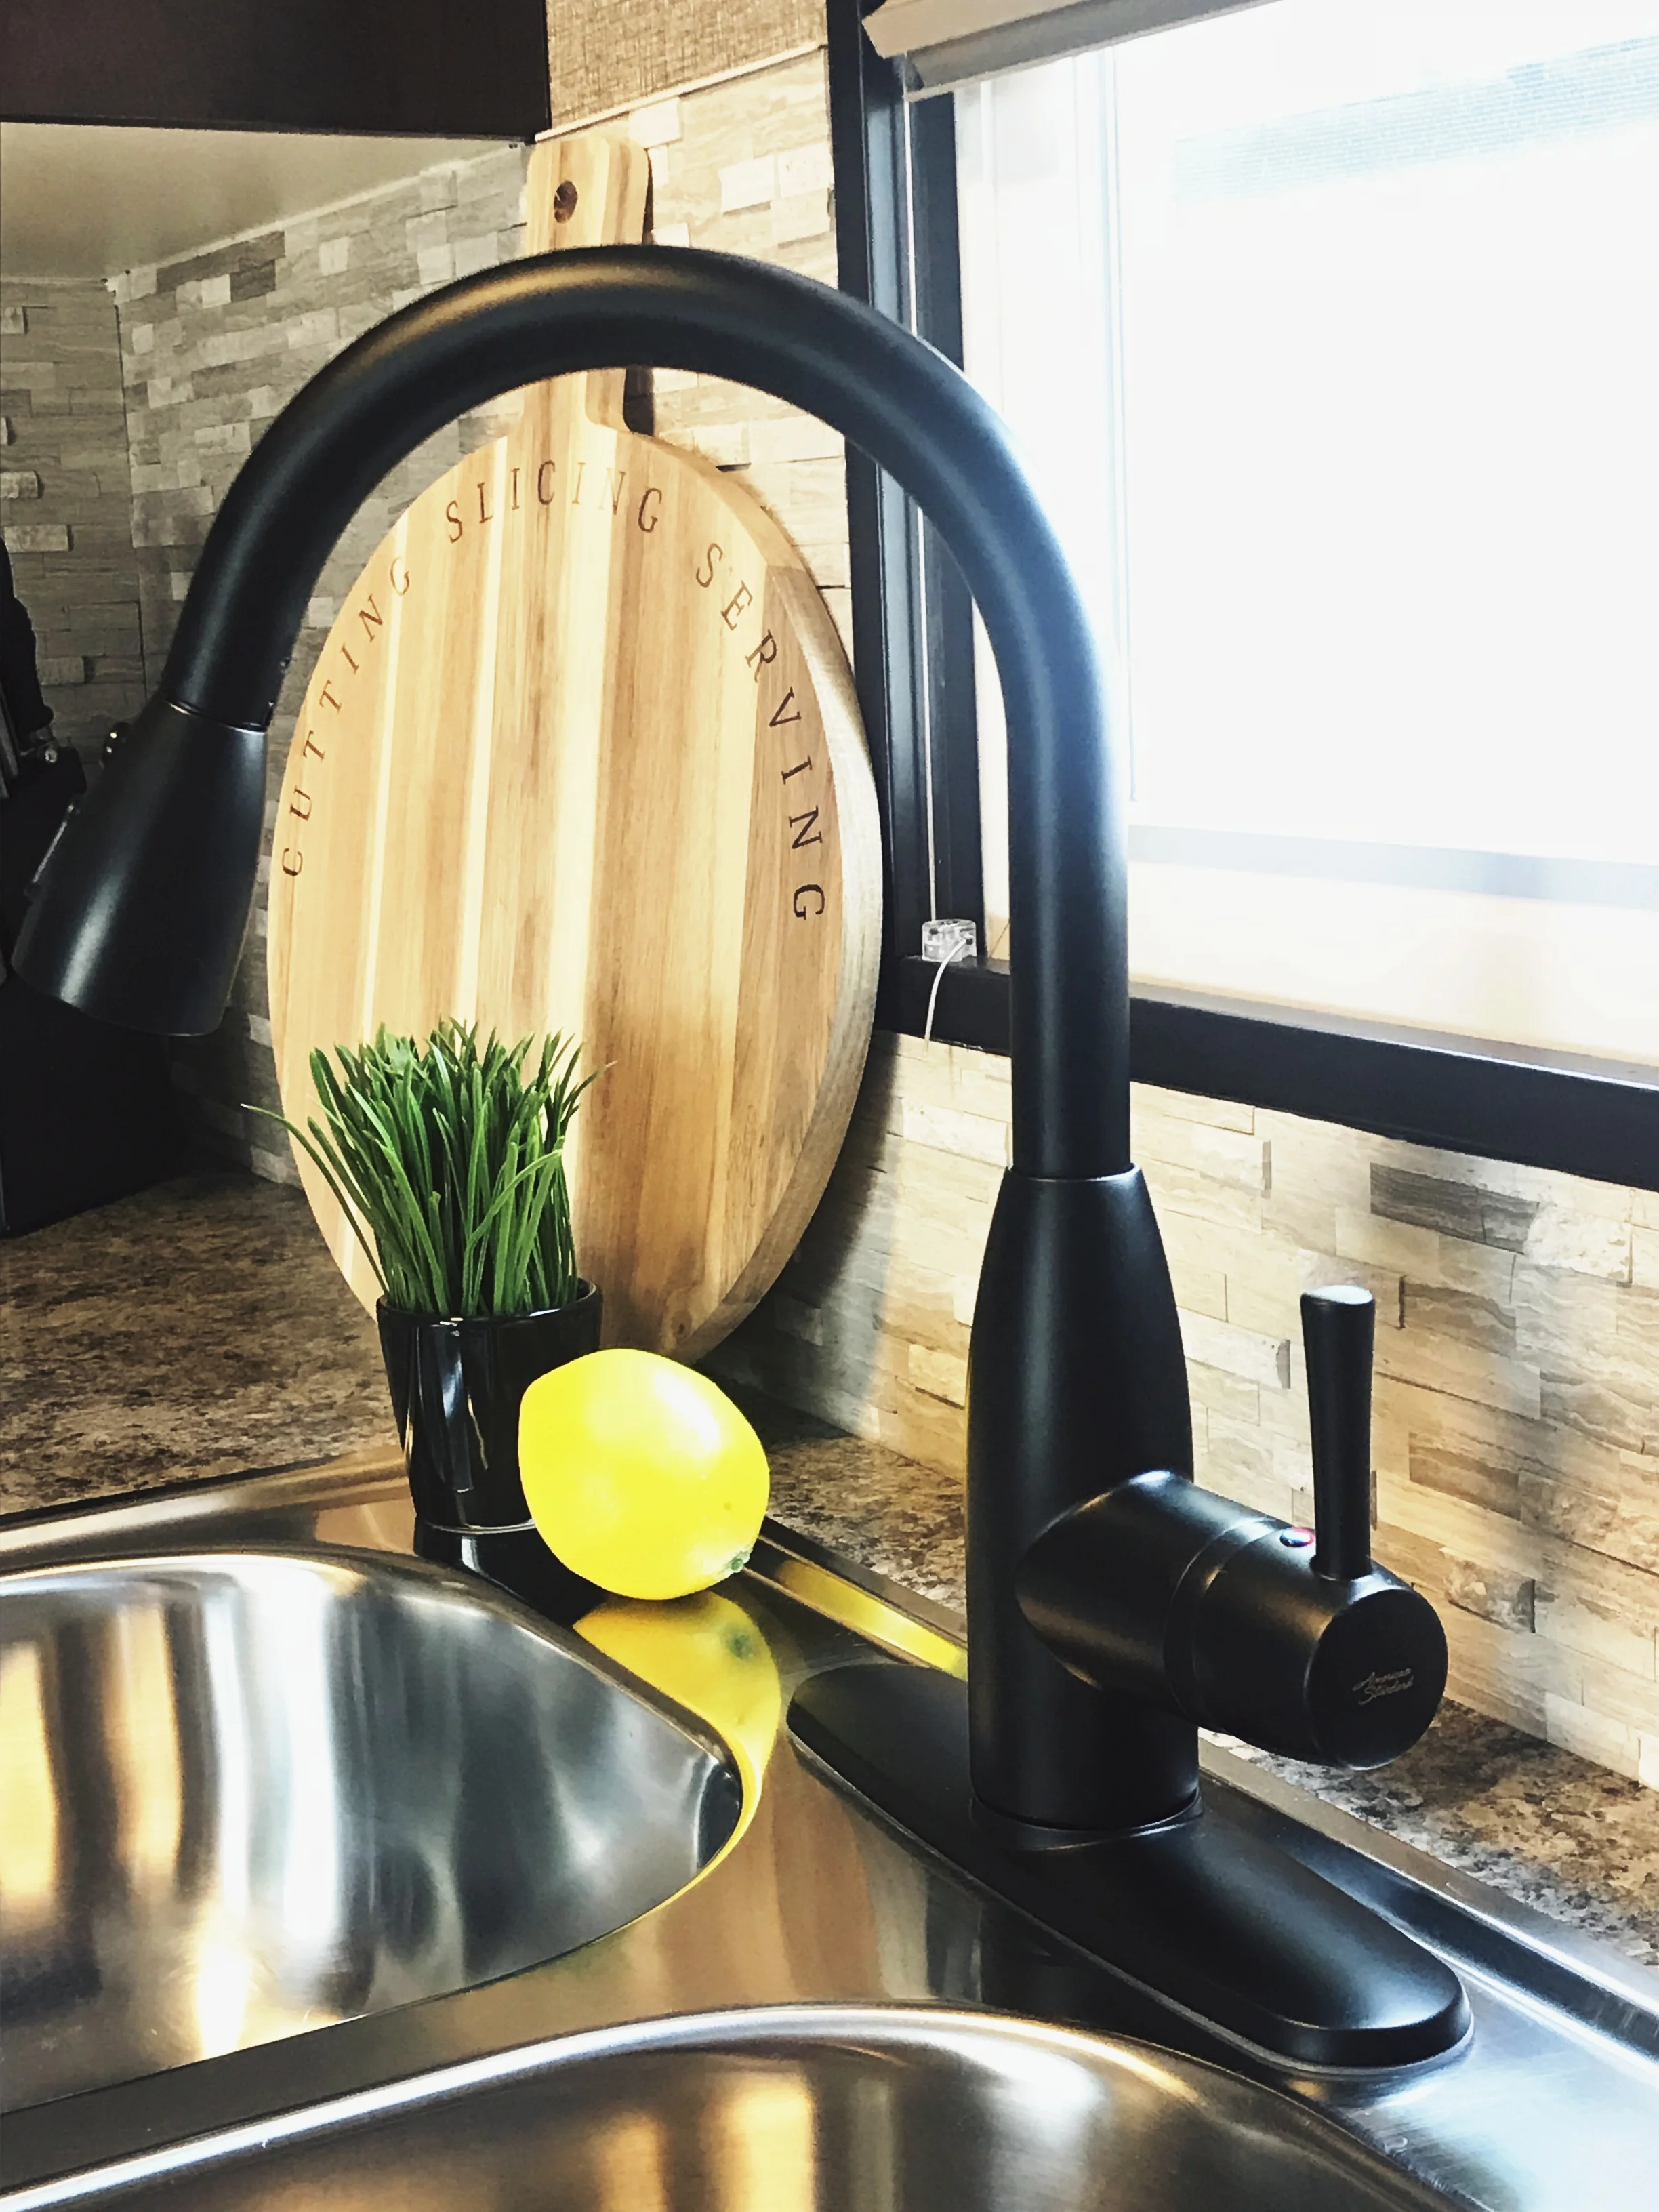
This faucet is the perfect size for a small kitchen like this one, it makes a statement without being overpowering. Not only does it strike a beautiful contrast with the light backsplash, I think it adds the perfect rustic touch, and really, can we all just be thankful that the sad "before" faucet has found a new home in my basement utility sink?


And that my friends is a wrap on our Up North Kitchen Makeover. It's hard to put into words the overhwhelming feeling of accomplishment when you finish a project like this. To some it may not be a "big" undertaking but we are still learning as we go. To have completed all of this, with no major hiccups, and to have it turn out better than we could have hoped, is a huge win for us! I can't thank you all enough for following along and cheering us on, it means so much!
Now you'll have to excuse me while I dig out my DIY list and see what's next!
Michele xo