HOW I PAINTED A FAUCET
Do you guys remember when I decided to paint my laundry room faucet last month? I know some of you do and have been waiting for this blog post. Patience is not my strong suit but if you’re going to tackle this job, you need a bucket load!
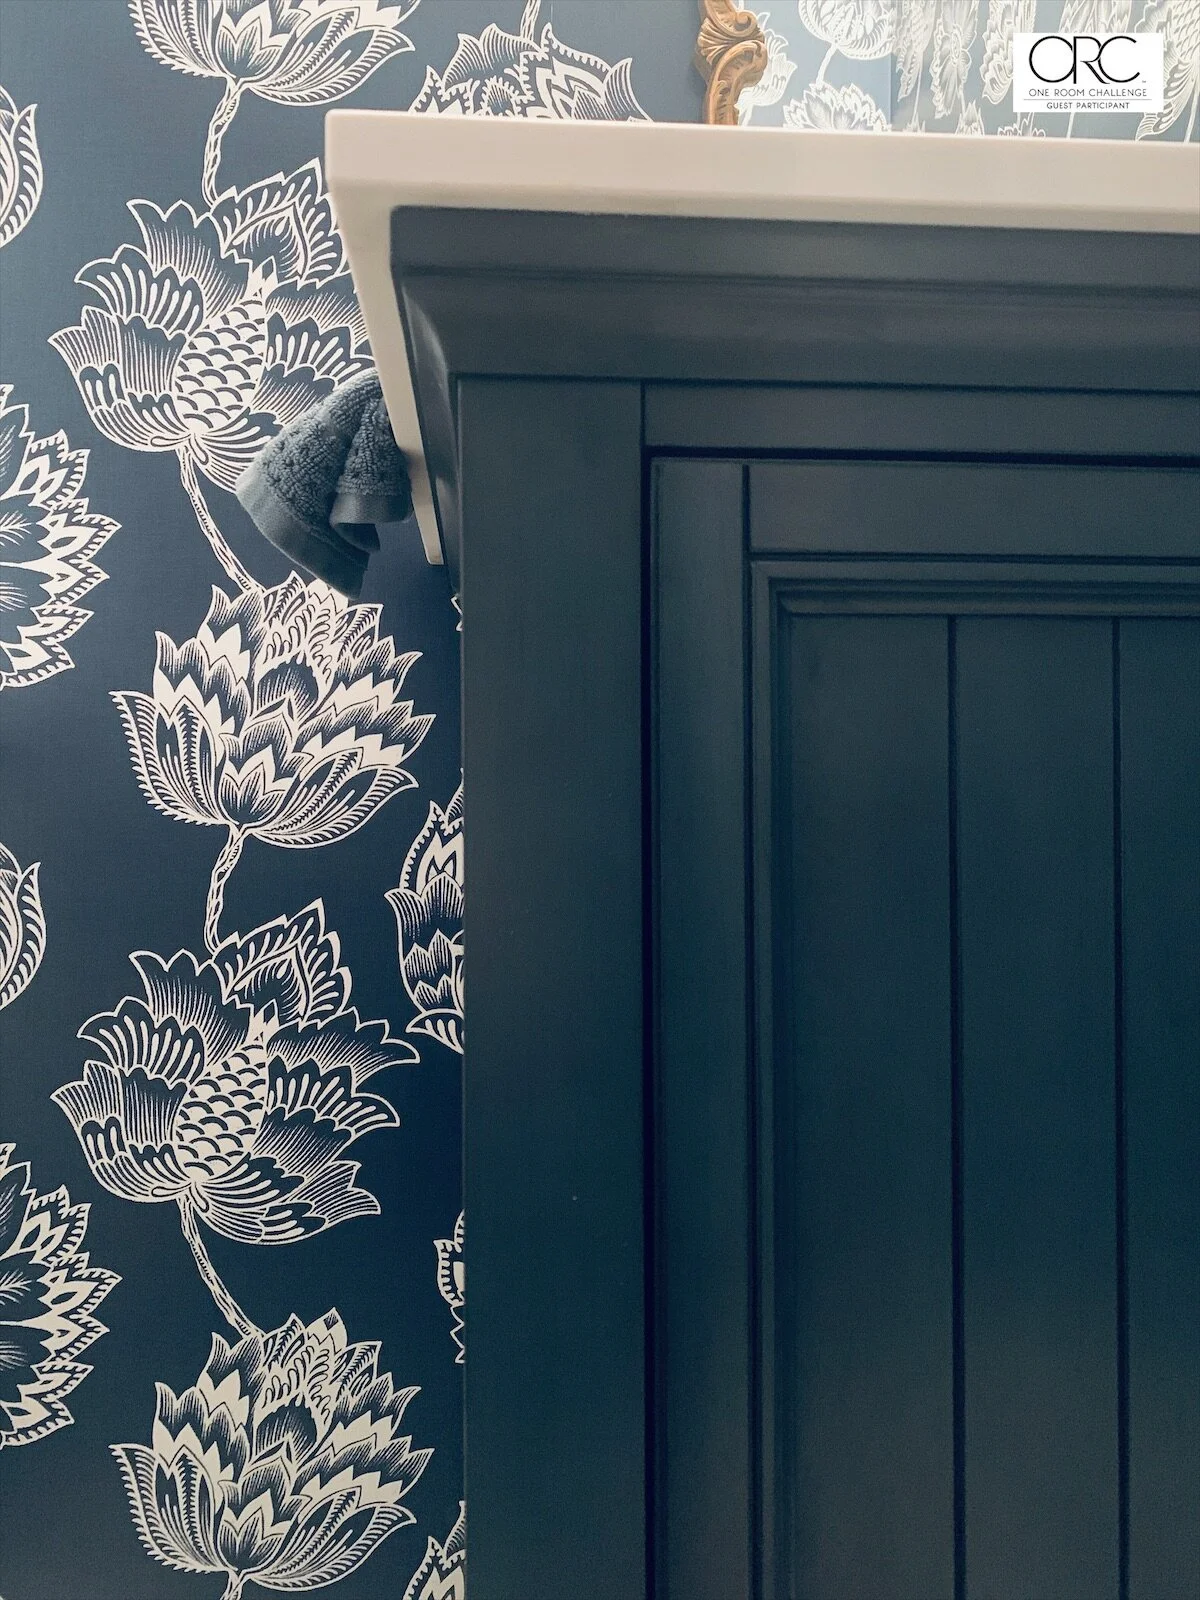
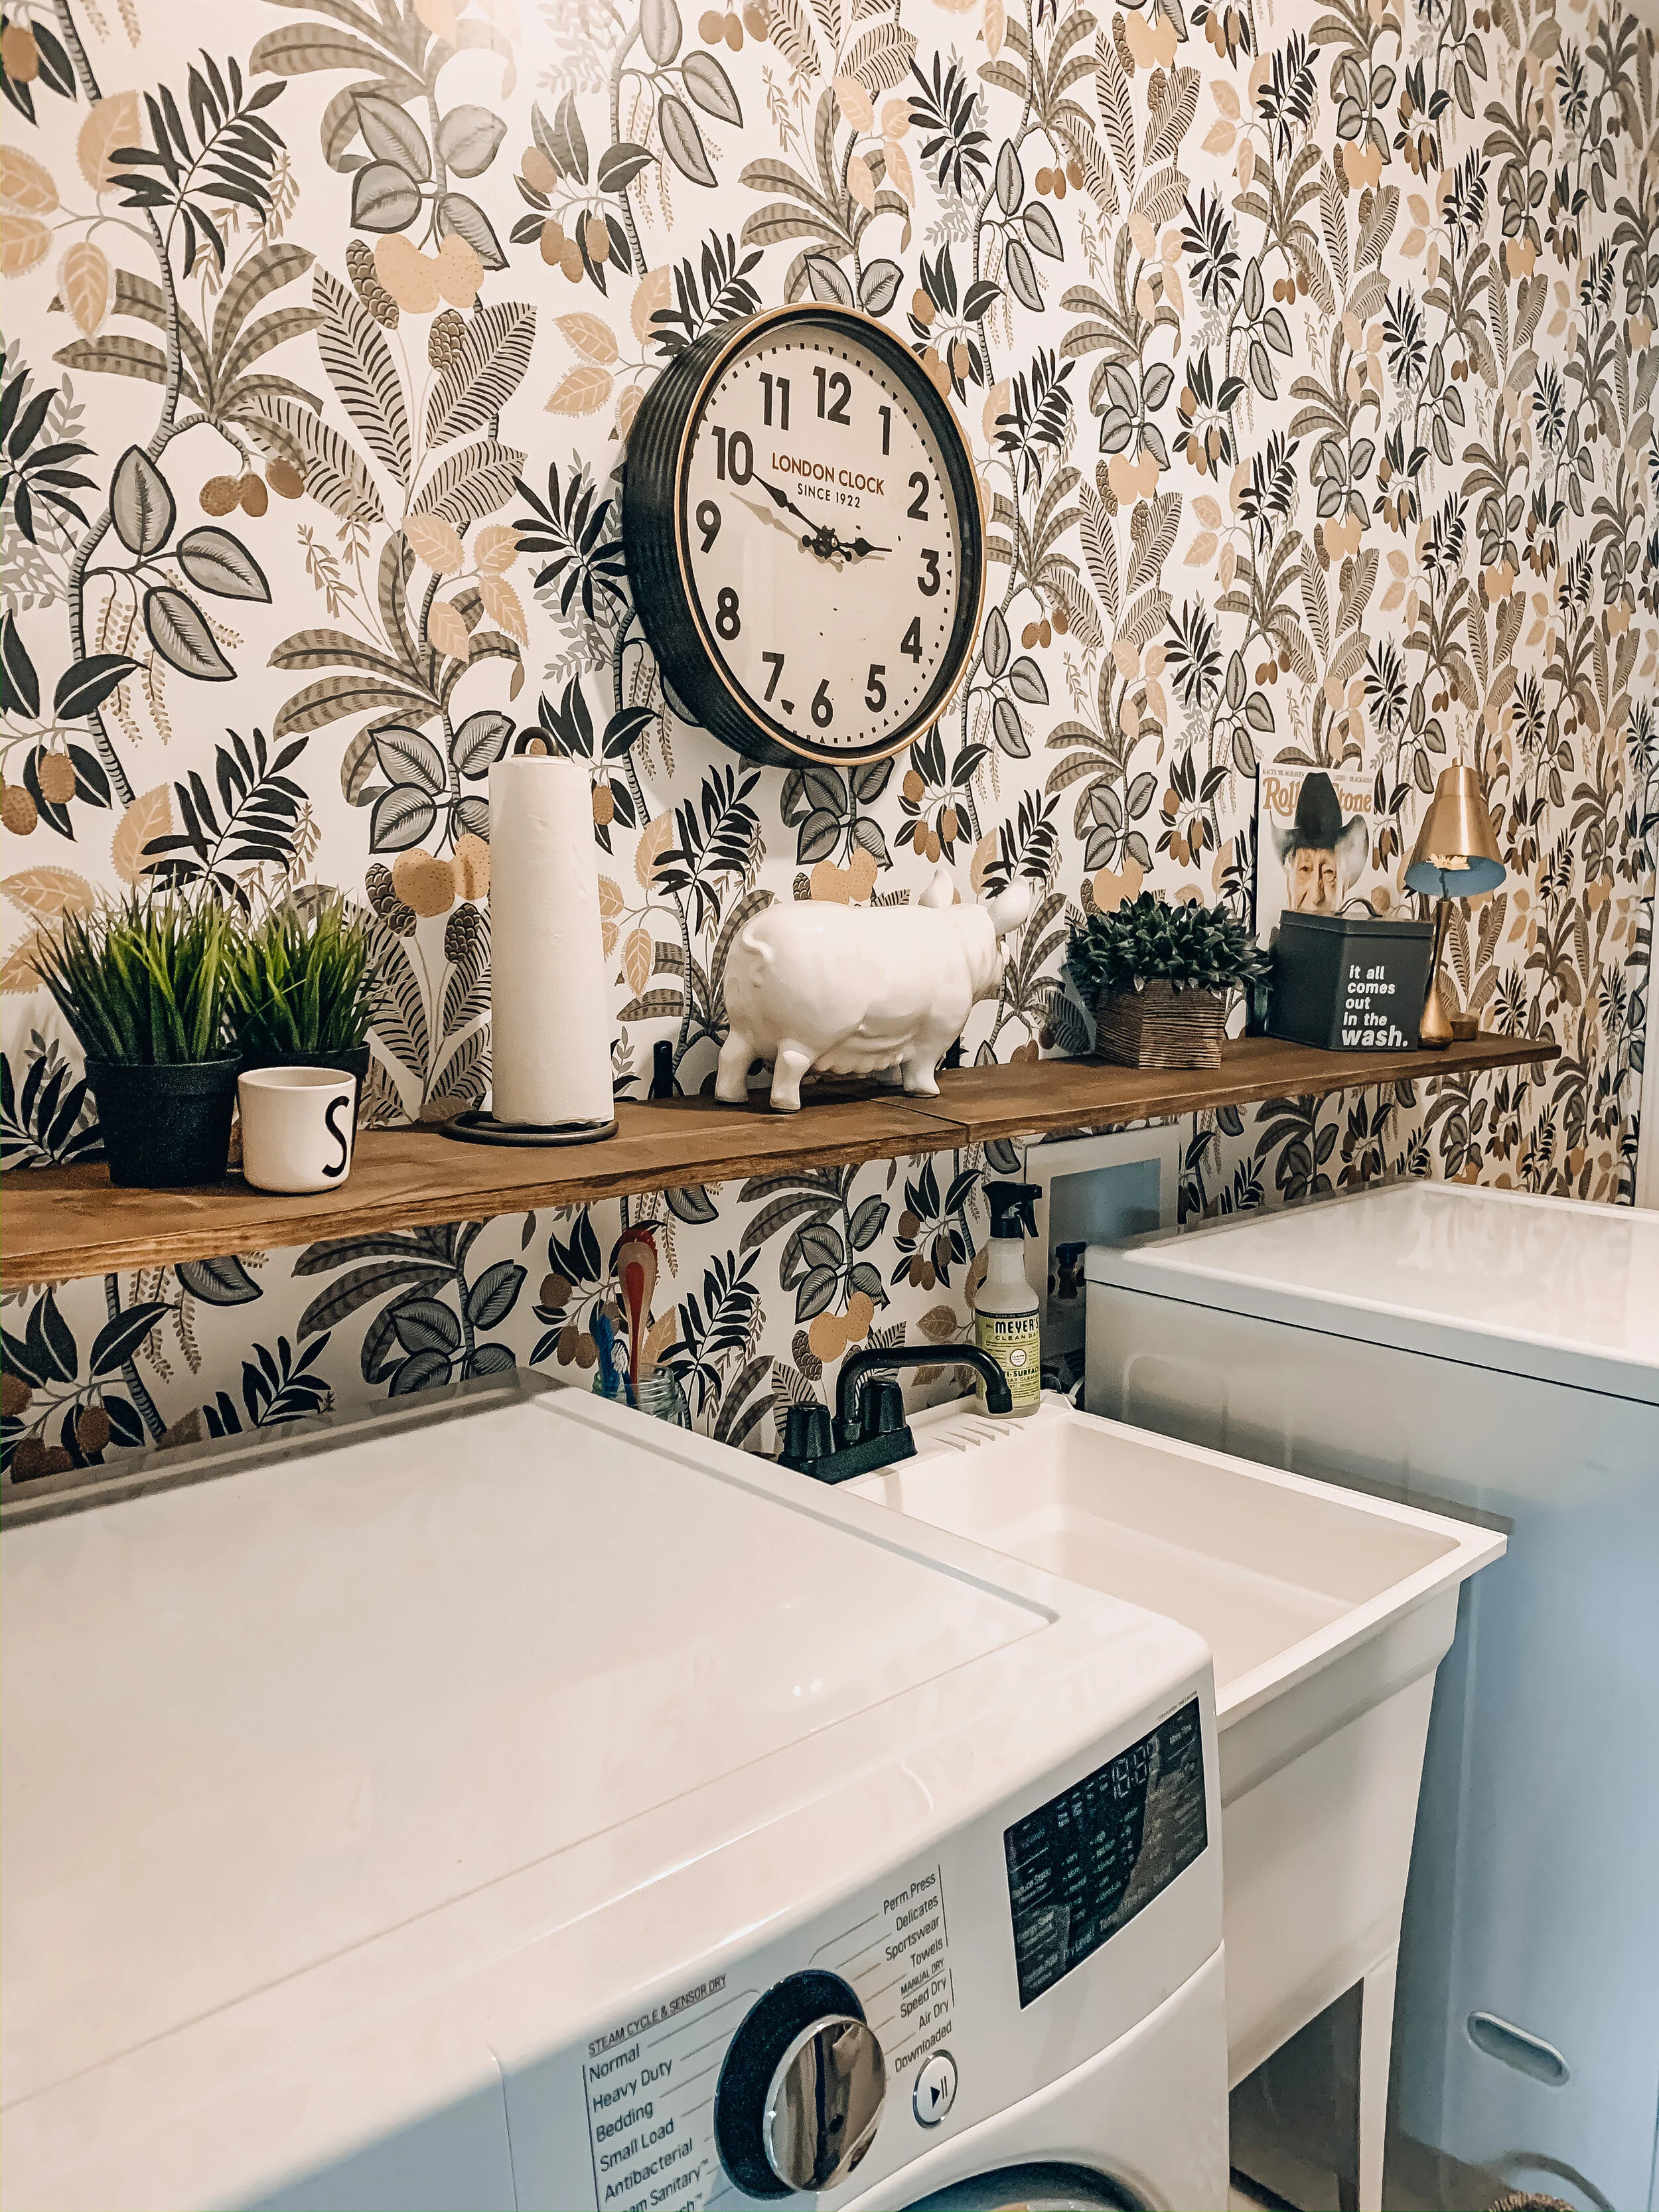
Laundry Room Makeover
We did a thrifty laundry room makeover which included a wallpaper accent wall, painting the closet doors, adding some hooks and a shelf. I was intrigued by seeing others paint their faucets on Instagram, I stalked them, read their blog posts and decided to give it a whirl. I figured I had nothing to lose painting a $20 builder grade faucet!
This is the before!
Here are my rambling pointers and steps I used that worked for me.
One thing I have learned through DIY trial and error over the years is the importance of CLEANING whatever it is you’re painting AND using a really good primer, even when you’re tempted to skip that step!
Once you remove your faucet, take it apart wherever it can be taken apart! Next, drop the whole thing in a sink of warm water and use a degreaser like Blue Dawn, Krud Cutter or TSP, whatever you have on hand. Let them soak and then give them a good scrub, rinse and let them totally dry, even in all the nooks and crannies.

Take your facet apart and clean it with a degreaser!
Next give them a very light sand with a high grit sand paper. I like to use the sanding blocks from the dollar store. You are just sanding it enough for the primer to have something to grip. Make sure to wipe them clean with a micro fibre cloth after you sand. Tape off any areas you don’t want to paint.
Here are the three products by Rustoleum that I used to paint this faucet, all were purchased at my local Home Depot
I would ESPECIALLY recommend this specific primer!
Now you’re ready to take the first step....and for me that involved using one of my “professional” style spray painting stands....a cardboard box! I poked holes in the box so the faucet could stand up and I could easily move it around to get the hard to spray parts in between coats.
There is knack to spray painting and it’s slow and steady spraying to avoid drips....something I don’t always do when I rush things so trust me, don’t rush! But if you do get drips, you need to sand them before you carry on.
First up is your primer, I gave everything one coat, let it dry for 45 minutes and then did a second coat. This primer has a strong odour so I recommend wearing a mask or using it in a well ventilated area.
Once the second coat was done I let it dry for 6 hours. Overkill maybe but better to be safe right? After four hours I did my first coat of black, again, slow and steady wins the race! I waited two hours between coats of the black and I did three coats in total.
If you aren’t in a brightly lit area, I recommend using a flash light to check the faucet in between coats for both drips and coverage!
Ok, now is the hard part...leave it alone for 24 hours...like don’t even look at it. Just walk away, even though you’re gonna be DYING to touch it, reinstall it, take photos, LEAVE IT ALONE! Go work on another project, walk the dog, make a pie.
And in 24 hours you’re gonna start all over again with the top coat.
You can pick whichever finish you want in a top coat - matte, satin or gloss. I would have preferred matte but curbside pickup was the only shopping available at the time and Satin is all I could get and it turned out just fine!
Ok go spray your first coat of top coat, wait four hours and do a second, hell do a third if you want, I did.
And then comes the HARDEST PART OF ALL!!! And by all means, use your own judgement but when you’re talking about a faucet or something else that is going to be handled to be reinstalled and used A LOT, AND you’ve basically spent half your life working on it, you don’t wanna mess it up....leave your pretty new faucet to cure for A WHOLE WEEK!! Don’t be tempted to touch it after a day, it may look cured but when you start handling it and snapping pieces back together, you’re just asking for trouble!! Go start a new project and forget you even painted your faucet for now! Ok maybe a week is too much but that’s what I did. And I think I partially did it because I wanted to be able to tell you guys it worked.
And here she is!! Am I happy with her? Hell yeah! Is she perfect, no she isn’t...but only I notice the couple of minor imperfections.
I’ve waited to share because I wanted to make sure the steps I followed held up to daily use - hand washing and filling dog dishes - and cleaning - bleach/tide/hot water and the answer is YES!
It’s definitely an easy DIY but requires TONS of patience so be prepared. And if you give it a go, let me know!
I would also use this same method and steps for door knobs...patience is key my friends!
Happy painting!
Michele xo